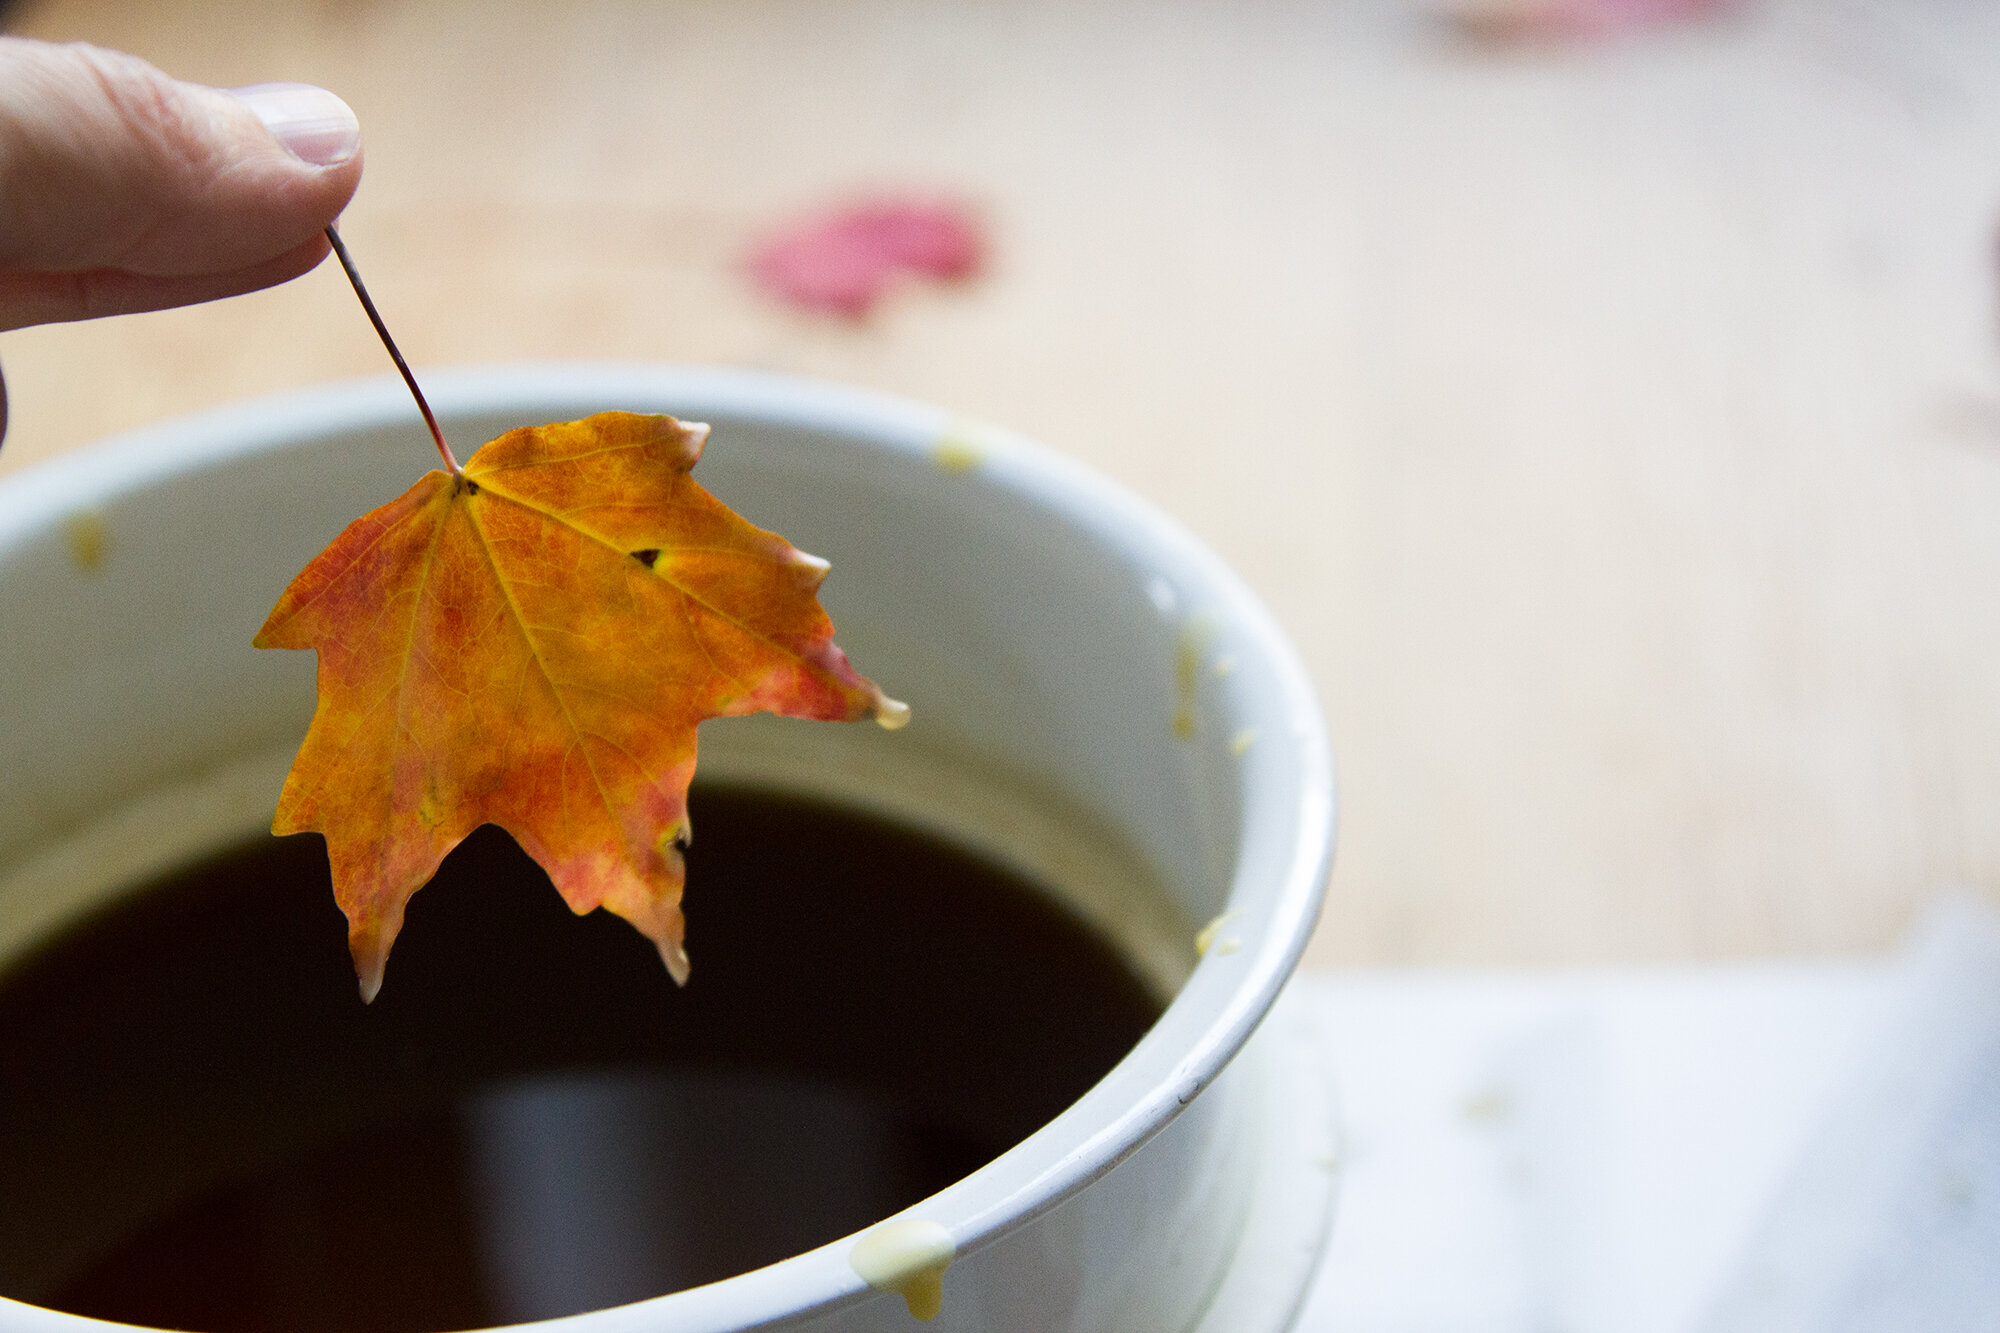
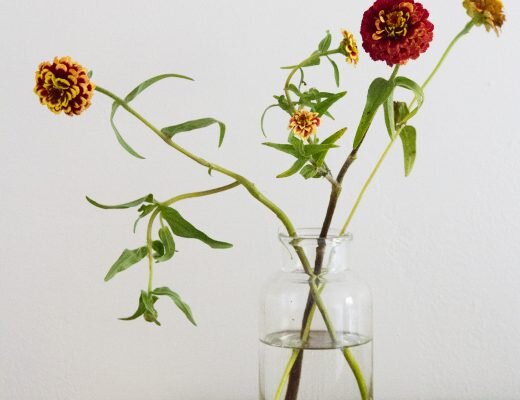
We dipped colorful leaves in melted beeswax this weekend. Faye took her Halloween costume for a test-drive, I snapped a few photos, neither one of us upended the pot of liquid wax. Here’s a bit of a how-to in case preserving a bit of fall color is a thing you’d like to try.
Wax-dipped leaves require a process that’s a bit more laborious than the stick-em-in-a-book and tape-em-to-a-wall technique that we’ve practiced in years past, but they’re still very simple to make and the resulting gems can be hung without risk of curling up or drying out, which feels worth the small bit of extra effort if you have the time or inclination. For our part, we hung some of our finished leaves from the mobiles in Faye and Silas’s room and the wax dip will mean they’ll stay fresh above their beds through Thanksgiving.
Beeswax Dipped Leaves
What you need:
Melted beeswax (This is the perfect occasion to remelt the nubs of old candles. There are lots of tutorials online for this kind of fall time gaiety, and most will tell you that you need bleached beeswax, or clear paraffin. Tut-tut! Plain old beeswax will do.)
Double-boiler (Or! A makeshift one made from a tin can and a sauce pan.)
Colorful leaves
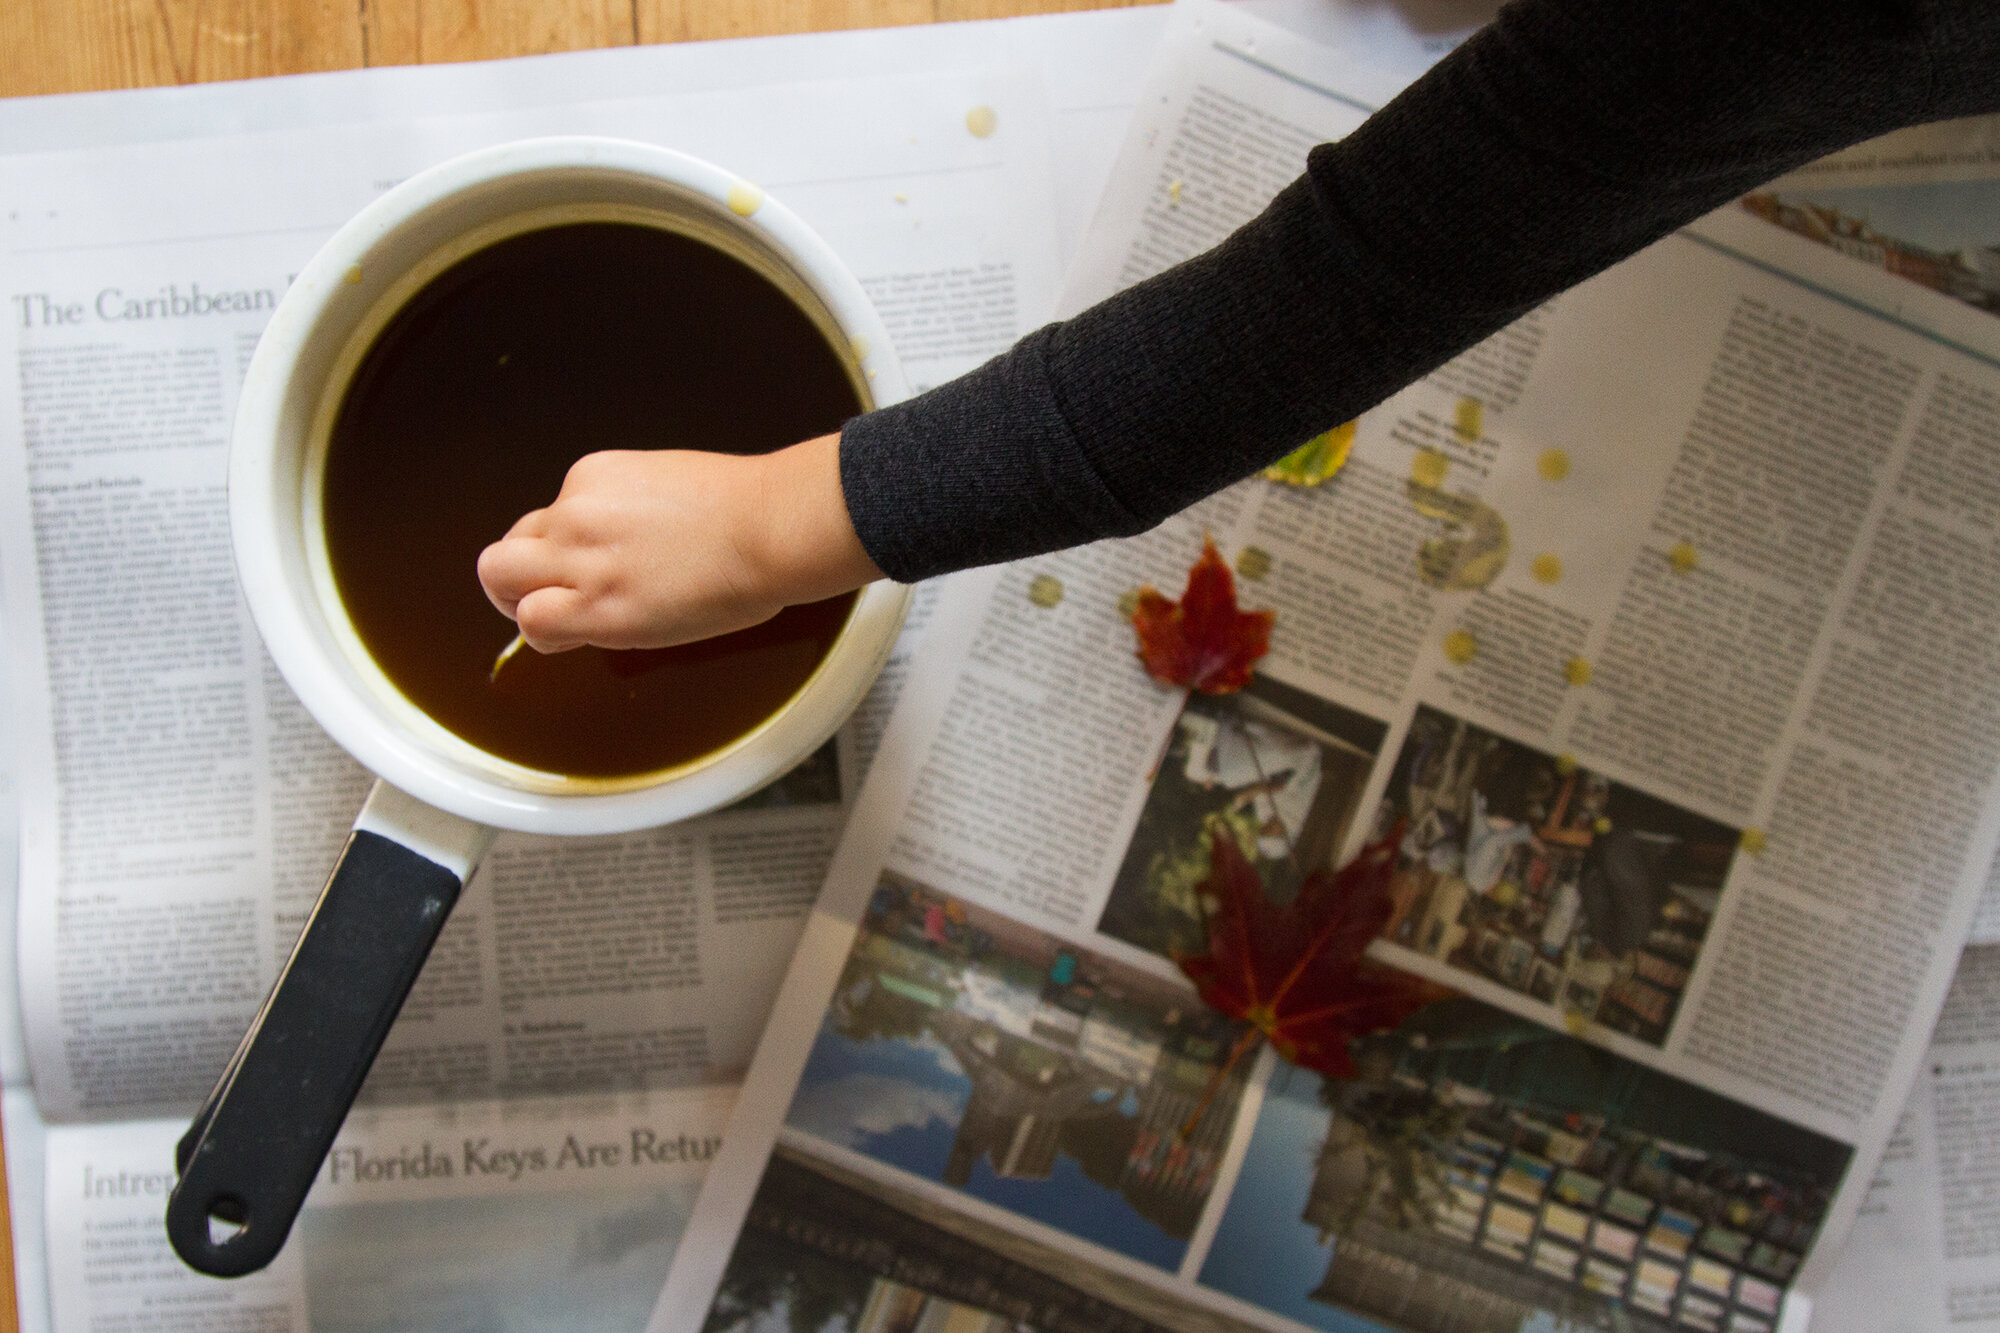
Newspaper (Helpful if working with an enthusiastic toddler; not completely necessary.)
String
What to do:
+ Melt the wax. We have an old double boiler that I keep under the sink for the purpose, but if you don’t have one of those, melting wax in a tin can set in a water bath will do the trick.
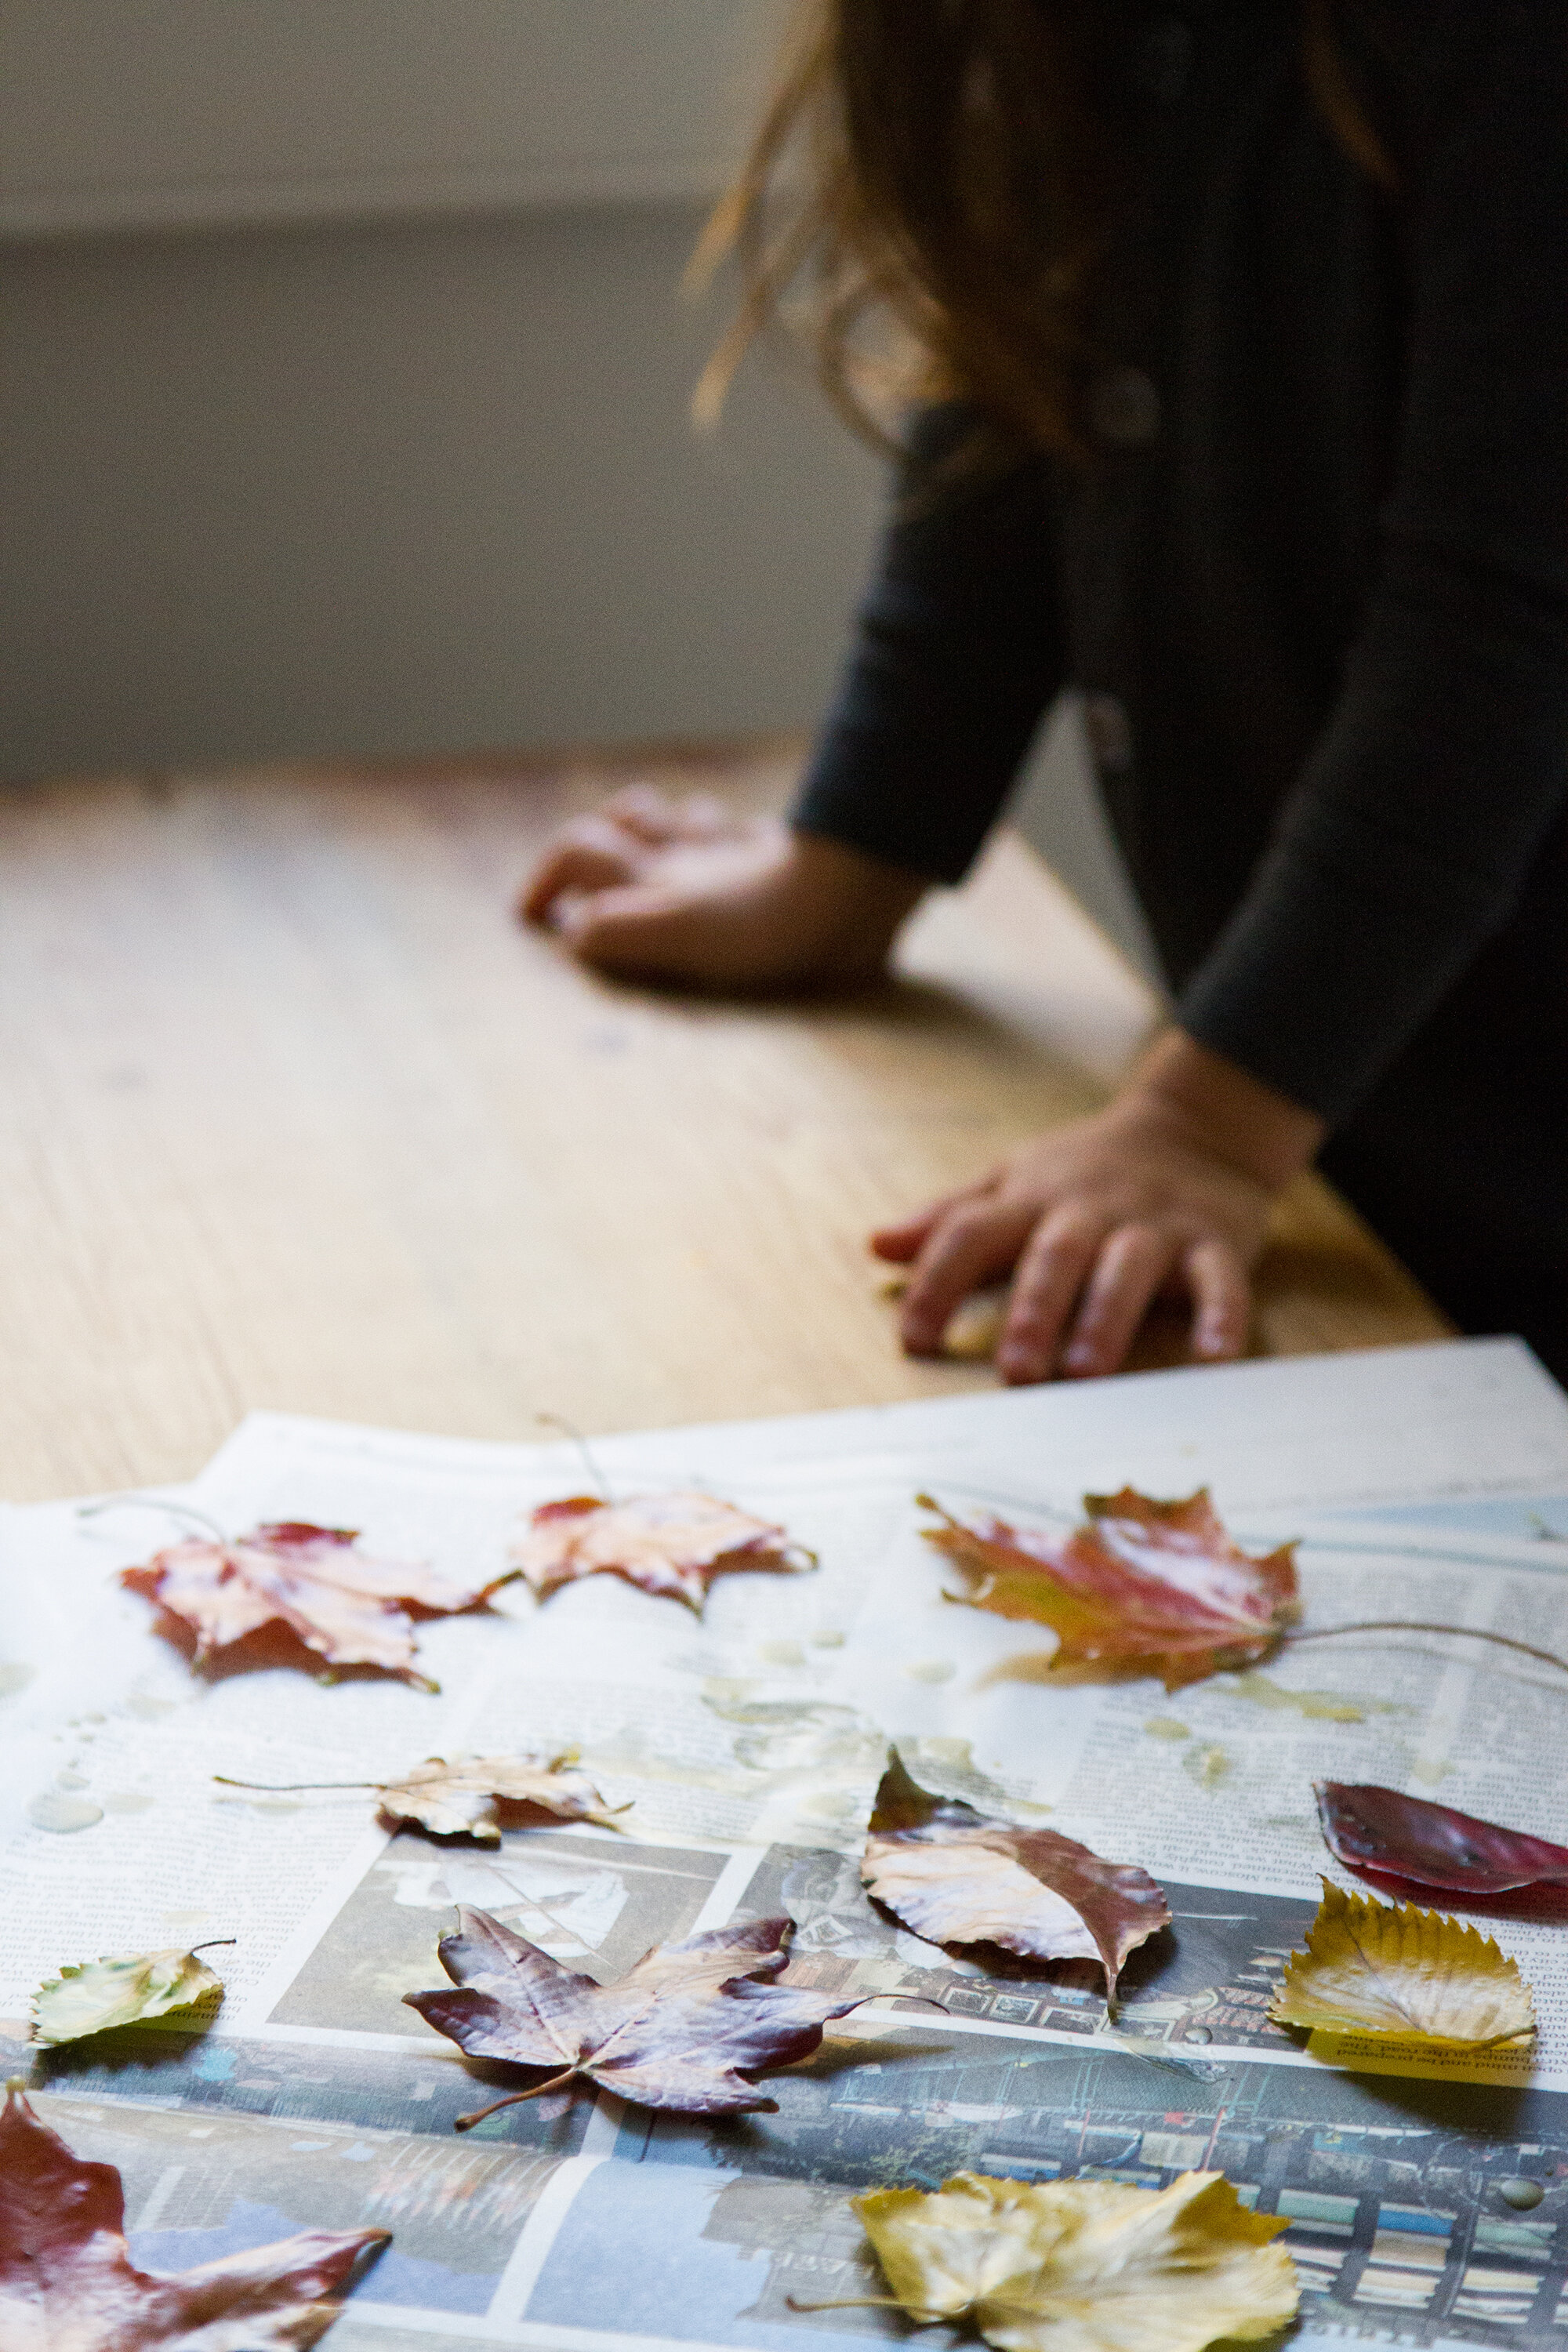
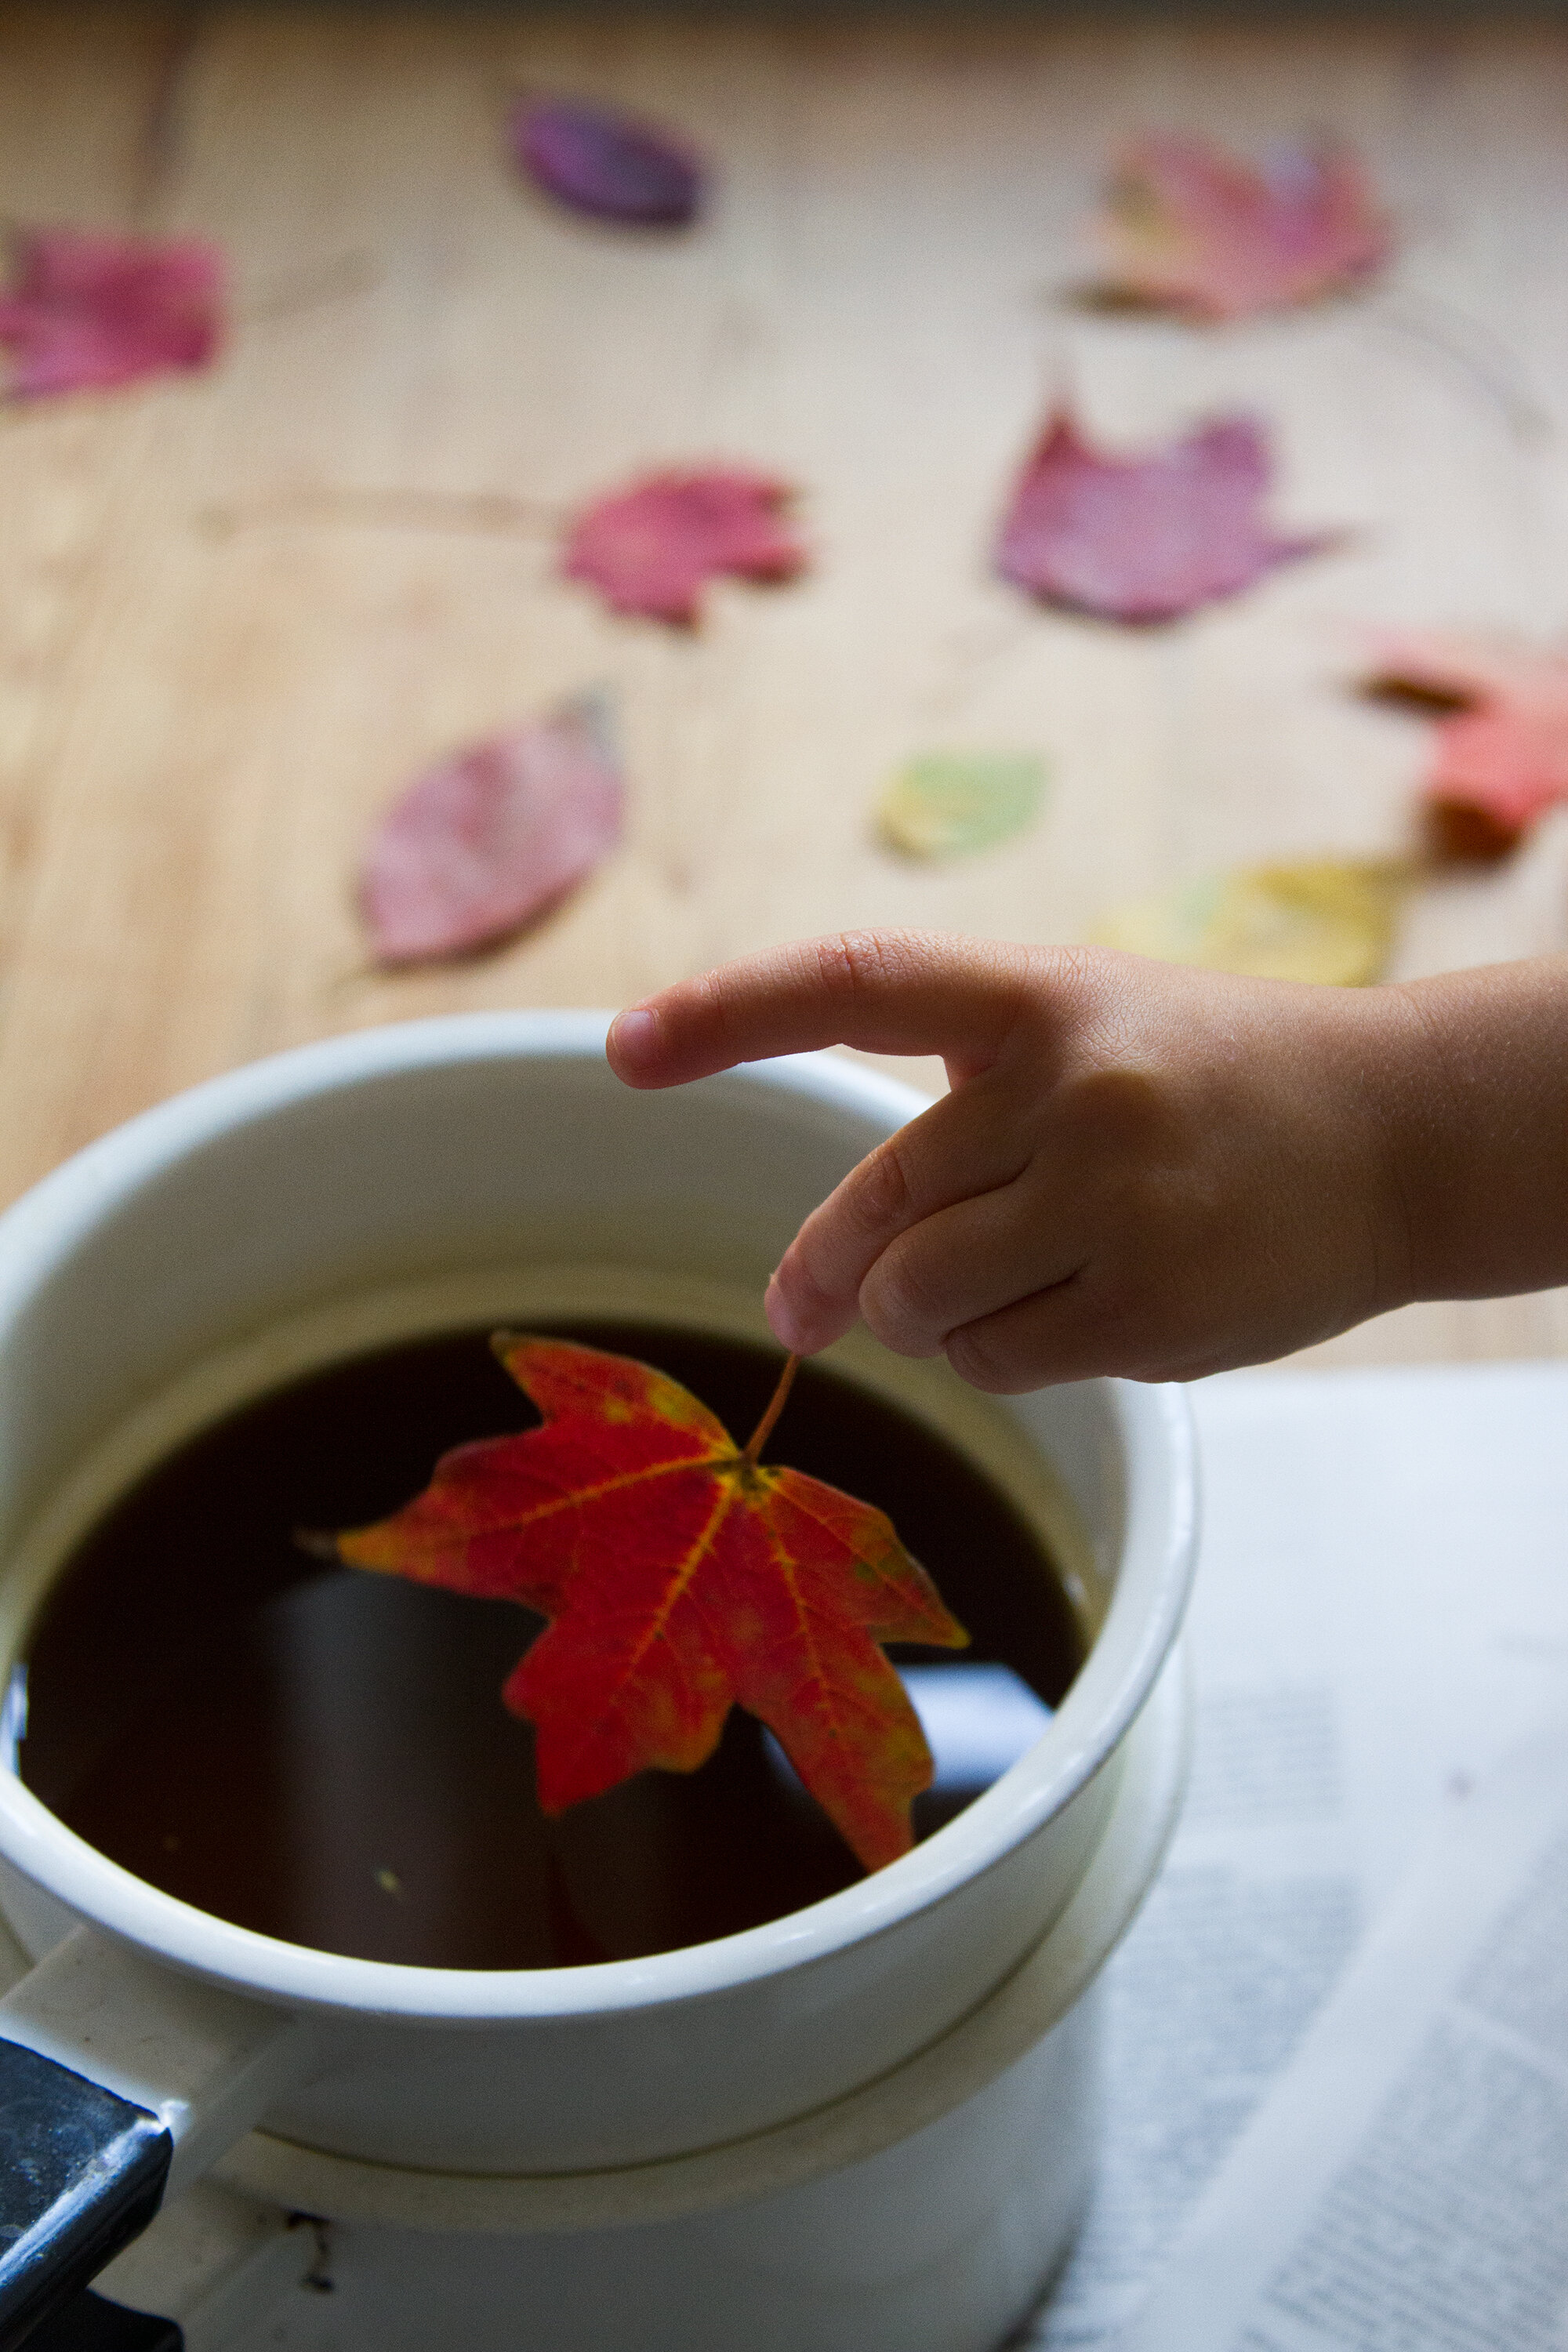
+ Once melted, dip each leaf into the melted wax and allow to drip dry for a moment before setting it on a piece of newspaper to finish drying. (If you’re very particular, you may choose to suspend immediately to finish drying so that positively all of the wax is evenly set. Not necessary, if you ask me.)
+ Tie string to the stems and hang suspended in front of a window, or from a makeshift mobile, or anywhere you’d like.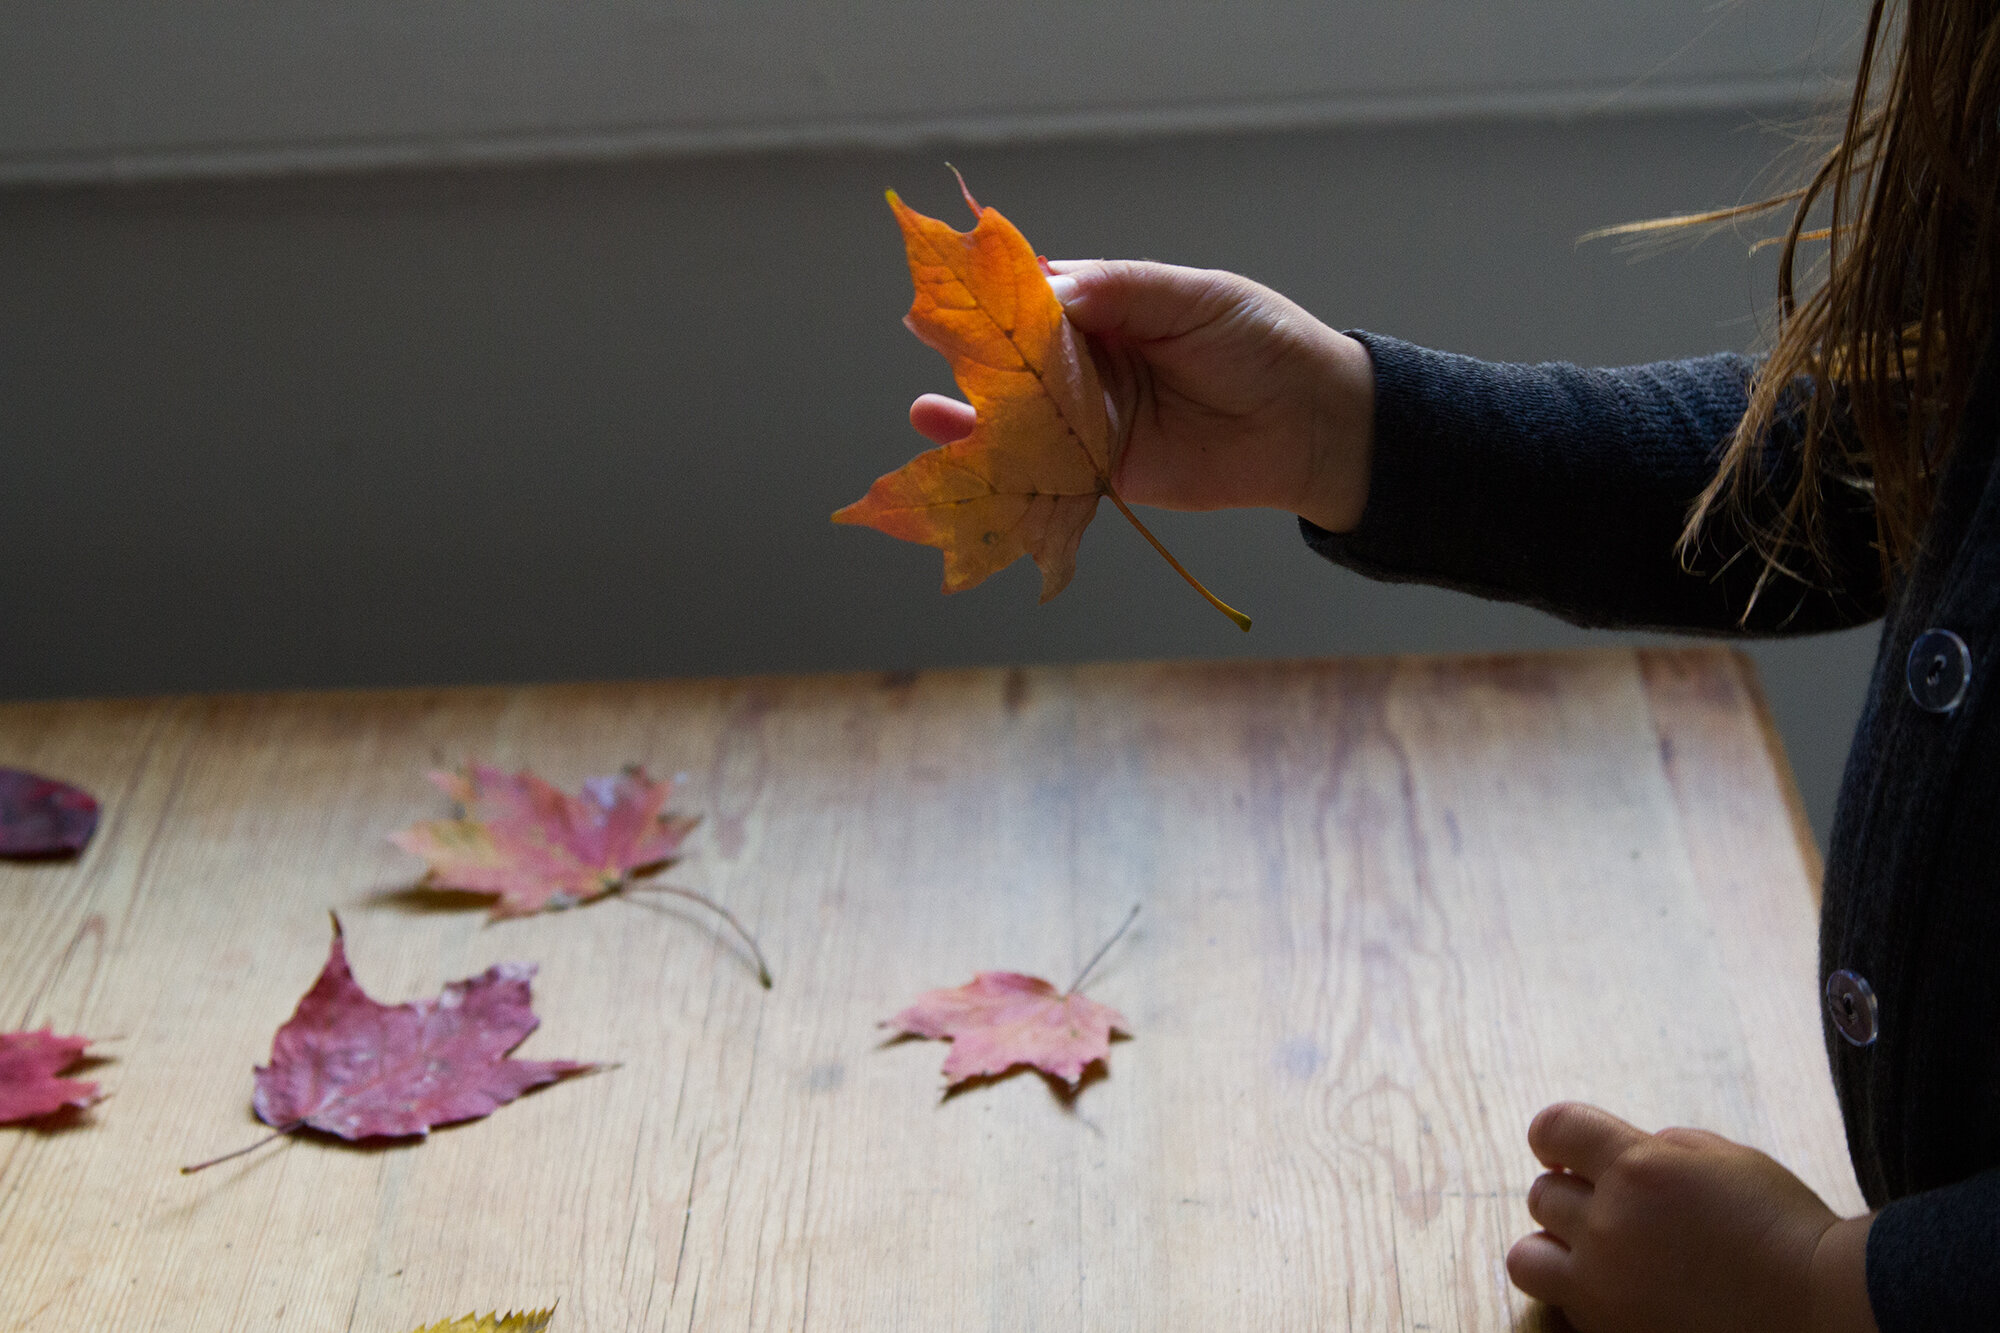
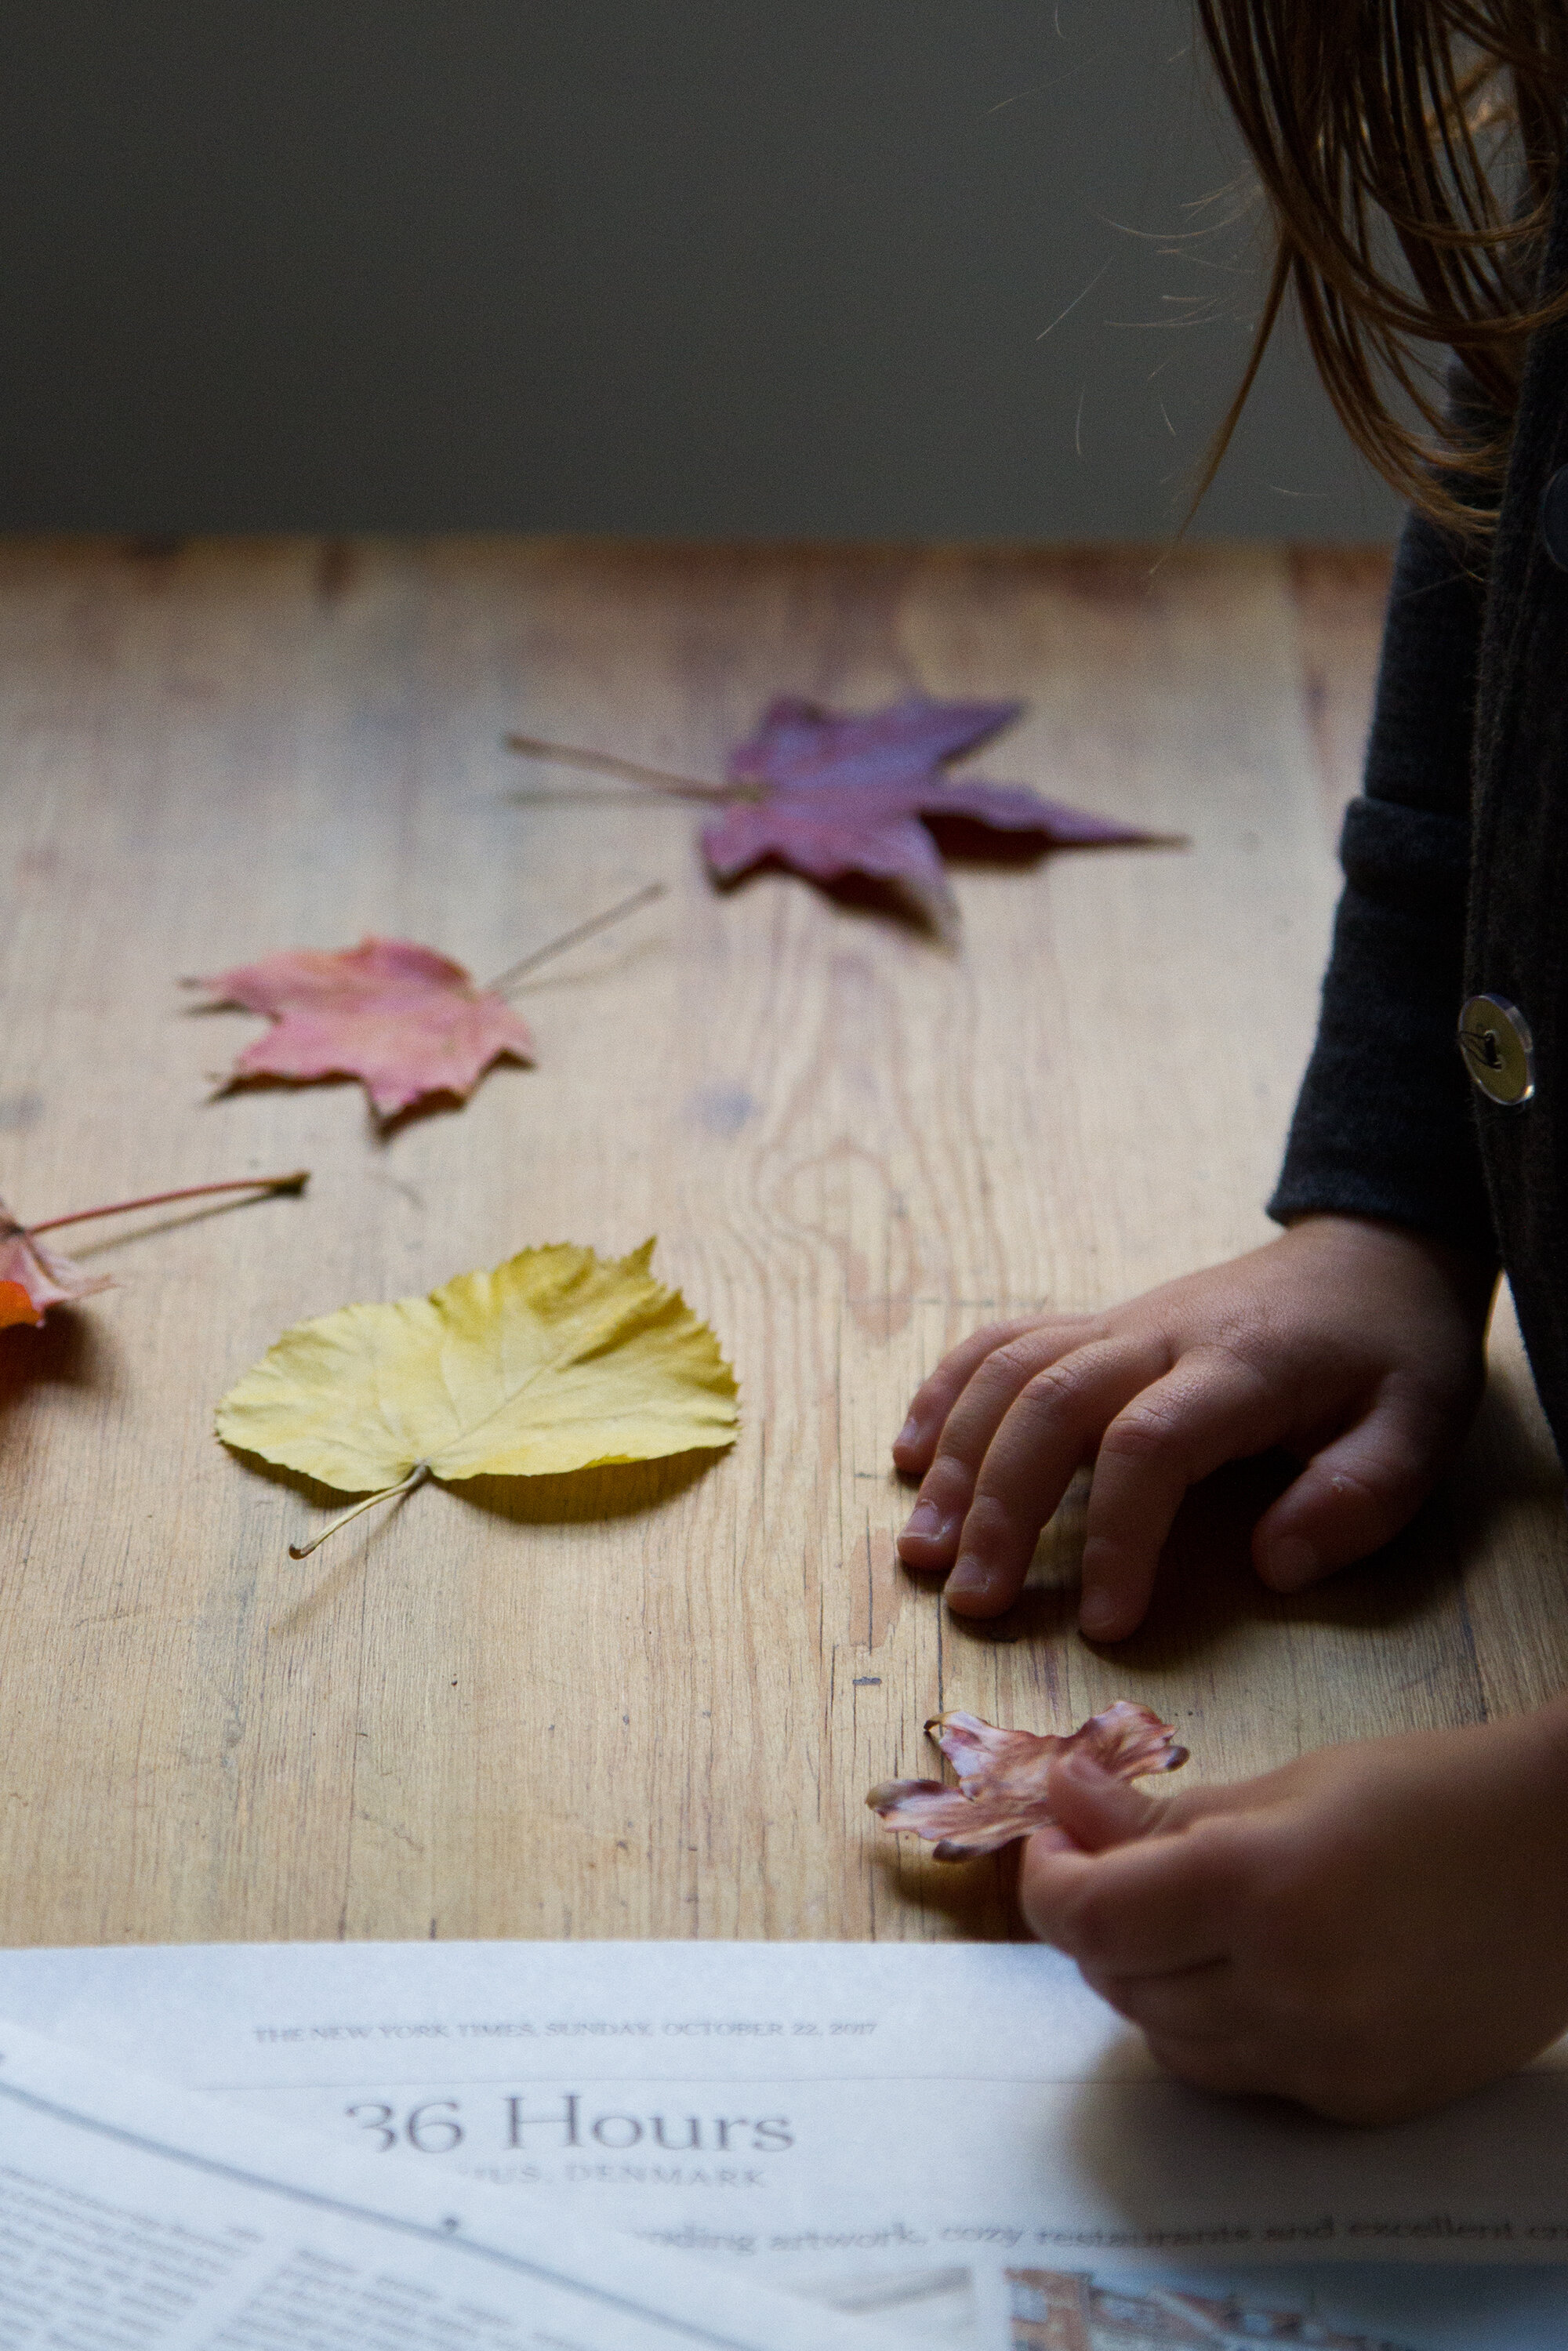 NB. If you’re watchful, I found this to be a project a three-year-old is more than capable of helping with. Of course, Faye twice dipped the tips of her fingers into the melted wax. It wasn’t so hot that it burned her—far from—but she decided she didn’t like the feeling of the wax drying on her fingers and was content to watch me dip the remainder. As with any project involving young humans, a hefty dose of patience and a healthy relationship with perfection helps things along.
What about you guys? Favorite fall projects in the works?
17 Comments
You can also use a crockpot (dedicated ever after to this purpose 🙂 to melt the wax and dip. The mini crockpots are great for this!
Awww this is marvelous! Thanks for the idea!
amazing! must make
I did this once a few years ago, and it inspired a piece of wall art. So if any UK readers fancied playing ‘let’s ID the leaves’ there are some handy prints for sale here https://www.still-studio.co.uk
I would love it if they happened to be useful to any of you!
Gorgeous! Can you do an Aussie one? ☺️
It would be so interesting to make an Aussie one- there are some seriously weird and wonderful Australian trees to my British-accustomed eye. Drop me an email via the website and i’ll keep you posted.
Please do an Australian one! It would be delightful!
LOVE this idea! I’ve never heard of this project before and I’ve been trying to think of more natural, seasonal activities for little daughter! Thanks so much for sharing–we’ll be trying it this week…as soon as the rain lets up 🙂
Autumn has come and gone for us down here in the Southern Hemisphere and we’re quickly heading into spring. Last fall the two year old and I collected ‘his favourite leaves’ of all shapes and colours. I had planned to iron them between two sheets of wax paper and tape it to his window but instead I found an empty frame waiting to be filled. We arranged the leaves in the frame and added it to our collage wall. The colours have stayed quite vibrant but I like that we can enjoy the changing seasons and swap it out as required. His current fascination is collecting flowers (and I keenly encourage him to pick all the dandelion weeds he can find ☺️). I think the autumn leaves will be replaced with new favourite pressed spring flowers.
A popular Advent activity here in Switzerland for children is candle kitchens that are set up in November and December. The kids are given a long wick with a loop at the top for a finger and then dip the candle alternately in their choice of melted wax colours set up in large pots and a pot of water to set each layer. There are always waxy fingertips (or glove tips in the case of my daughters and grandson!). The colour builds up into a long fat candle; when they are done, the bottom is cut level to stand on and the colourful stripes become visible – usually an adult will cut the waste piece into discs and the child can stick them on the side of the candle as decoration. Some gifted adults will cut into the sides and make swirls, too. Anyway they are very pretty and a traditional gift for aunts, uncles and godparents at Christmas! You could be dipping beeswax candles/tapers with your remaining wax – but then, maybe that is exactly what you did…
I want to try this with the leaves, though, as I’ve seen it in a few places, now!
This sounds so interesting.. Can you share some pictures!
while reading too quickly, I saw “helpful if working with an encaustic toddler” — a wax-appropriate mistake!
I love the gentle, glossy sheen of the wax and how that will preserve the colors longer!
I’ve never wax-dipped leaves before. What a great idea! I must try it!
We wax-dipped leaves and they all turned brown – even with their beeswax coating. Any ideas why?
Hmm. Might be that the wax was too hot?
I did this craft with my preschooler today for an after school experiment. First, we bought a beewax “puck” from our local honey shop, then collected colourful leaves. I melted the wax in a tuna can set in water. After the wax melted I put the tin on the table. As we dipped our leaves the wax thickened and I had to stop half way to remelt the wax. I found the leaves that had been dipped into the slightly thickened wax had to be tossed afterwards because the thickness of the wax didn’t look great.
After the leaves dried, which took just a matter of minutes, I taped them to the wall, using washi tape. Later in the evening I found some of them fell from the wall and wax cracked, so they don’t look nice anymore. So, I agree with you that they should be hung up with strings as they are too heavy to be held up with tape.
Comments are moderated.