On these nights where the dark is beginning to creep in sooner and sooner, a candle keeps the funk at bay. And oh the funk, it’s coming on stronger now.
My very favorite kind of candles to keep at home are made from beeswax. They’re slow- and clean-burning, even air-purifying. Plus, they’re easy to make (or re-make) yourself. I don’t have a huge candle-making operation at home. I’m not dyeing candles, or dipping candles, or even, typically, scenting candles, but I do keep a few supplies tucked into different corners so that when the mood or moment strikes, I can get the place feeling cozy. In case it’s helpful, here’s a little overview of my candle-making habits: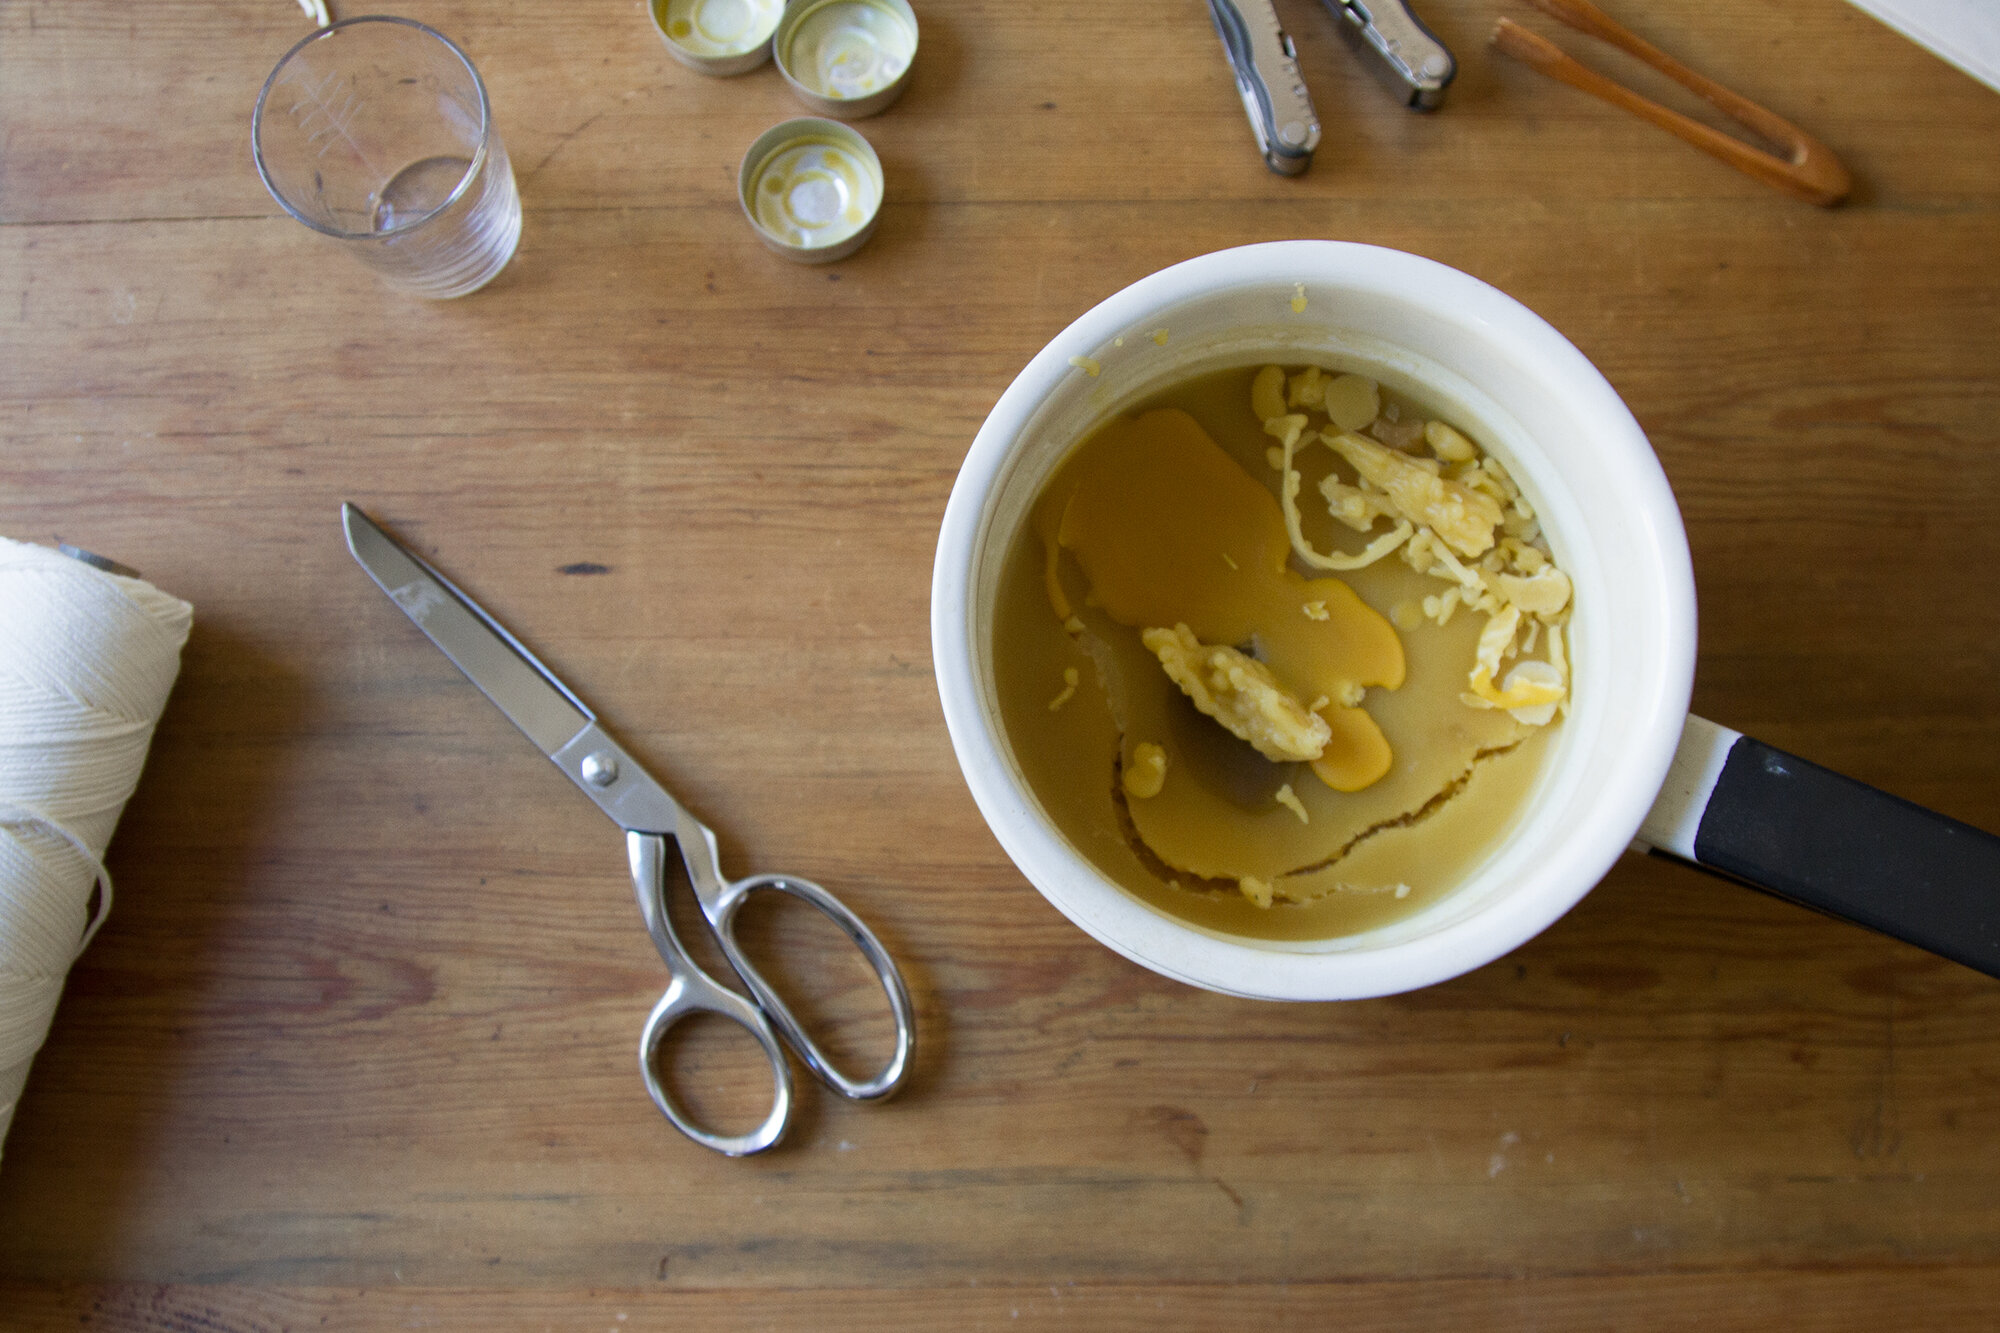
Supplies:
+ A small vintage enamel double boiler (stowed in the very back of the cabinet underneath the kitchen sink) for melting down solid beeswax and beeswax scraps. (You can also use a tin can inside a regular cooking pan, but after accidentally spilling and needing to scrape beeswax out of my stainless steel saucepan more than once, it’s been better for me to have a dedicated pan for wax only.)
+ A designated pair of heat-resistant tongs for helping maneuver anything hot or waxy or otherwise to touch with bare hands or kitchen implements you don’t want covered in wax.
+ A roll of 2/0 square braid 100% cotton wicking (stashed with the other ribbon and strings in the linen closet)
+ Sheets of 100% beeswax foundation for rolling tapers (stored in the cardboard sleeve it’s sent in and tucked behind the tool boxes in the linen closet)
+ Eight tea light tins and wick tabs, saved from past tea light purchases (tucked inside a ceramic pitcher inside the linen closet)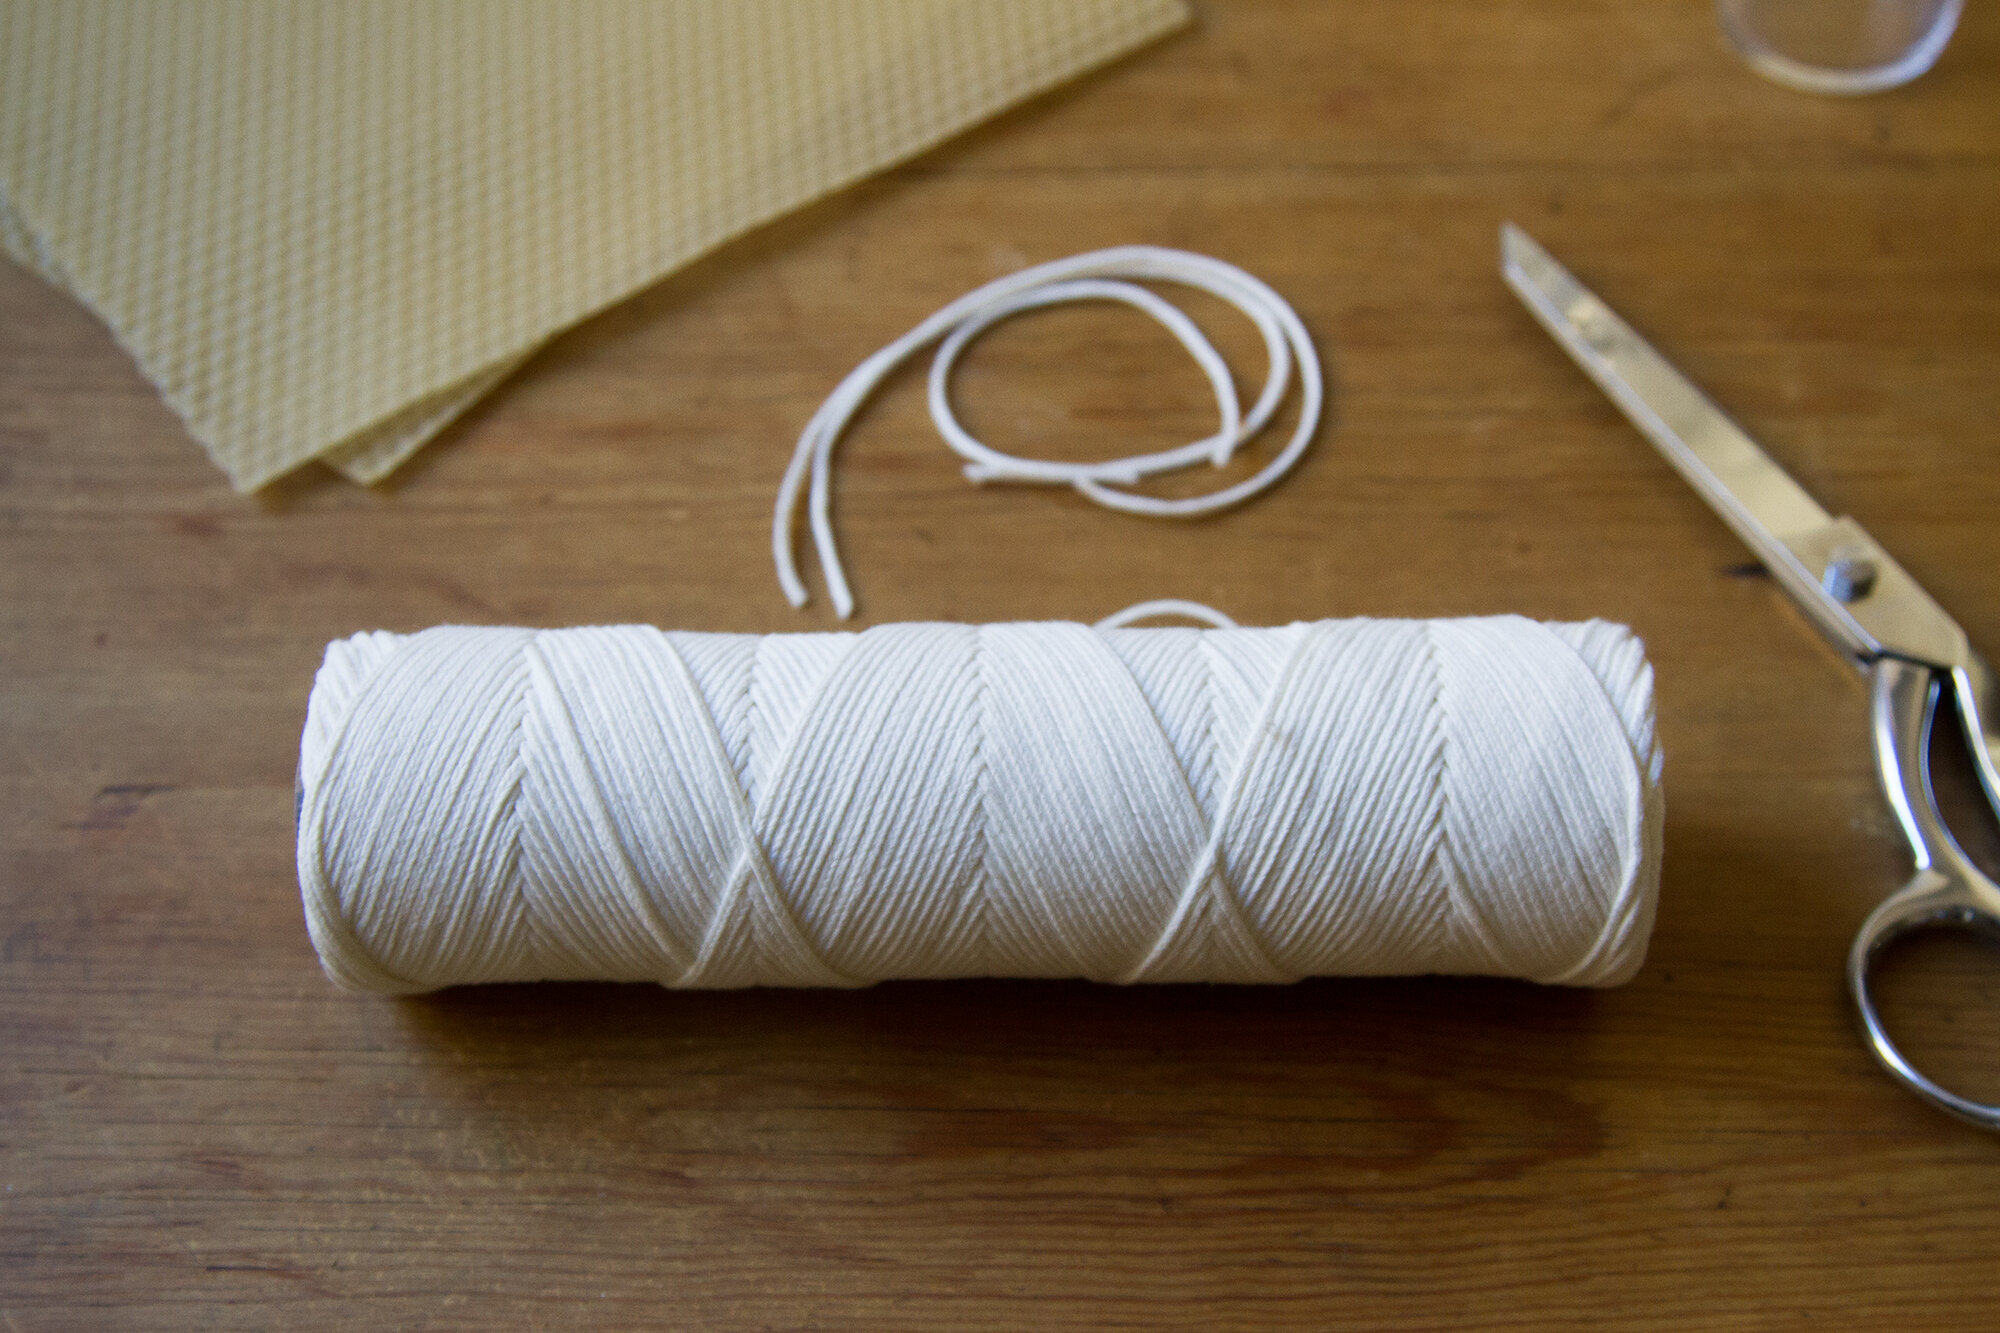
Wicks: Because I typically make tapers or small tea lights or pillars, I use a 2/0 square-braided wick that’s best for candles no bigger than 3 inches across. I confess that I don’t always prime my wicks (priming just mean dipping them in melted wax before rolling or pouring), but when I do, it does seem to make a notable difference.
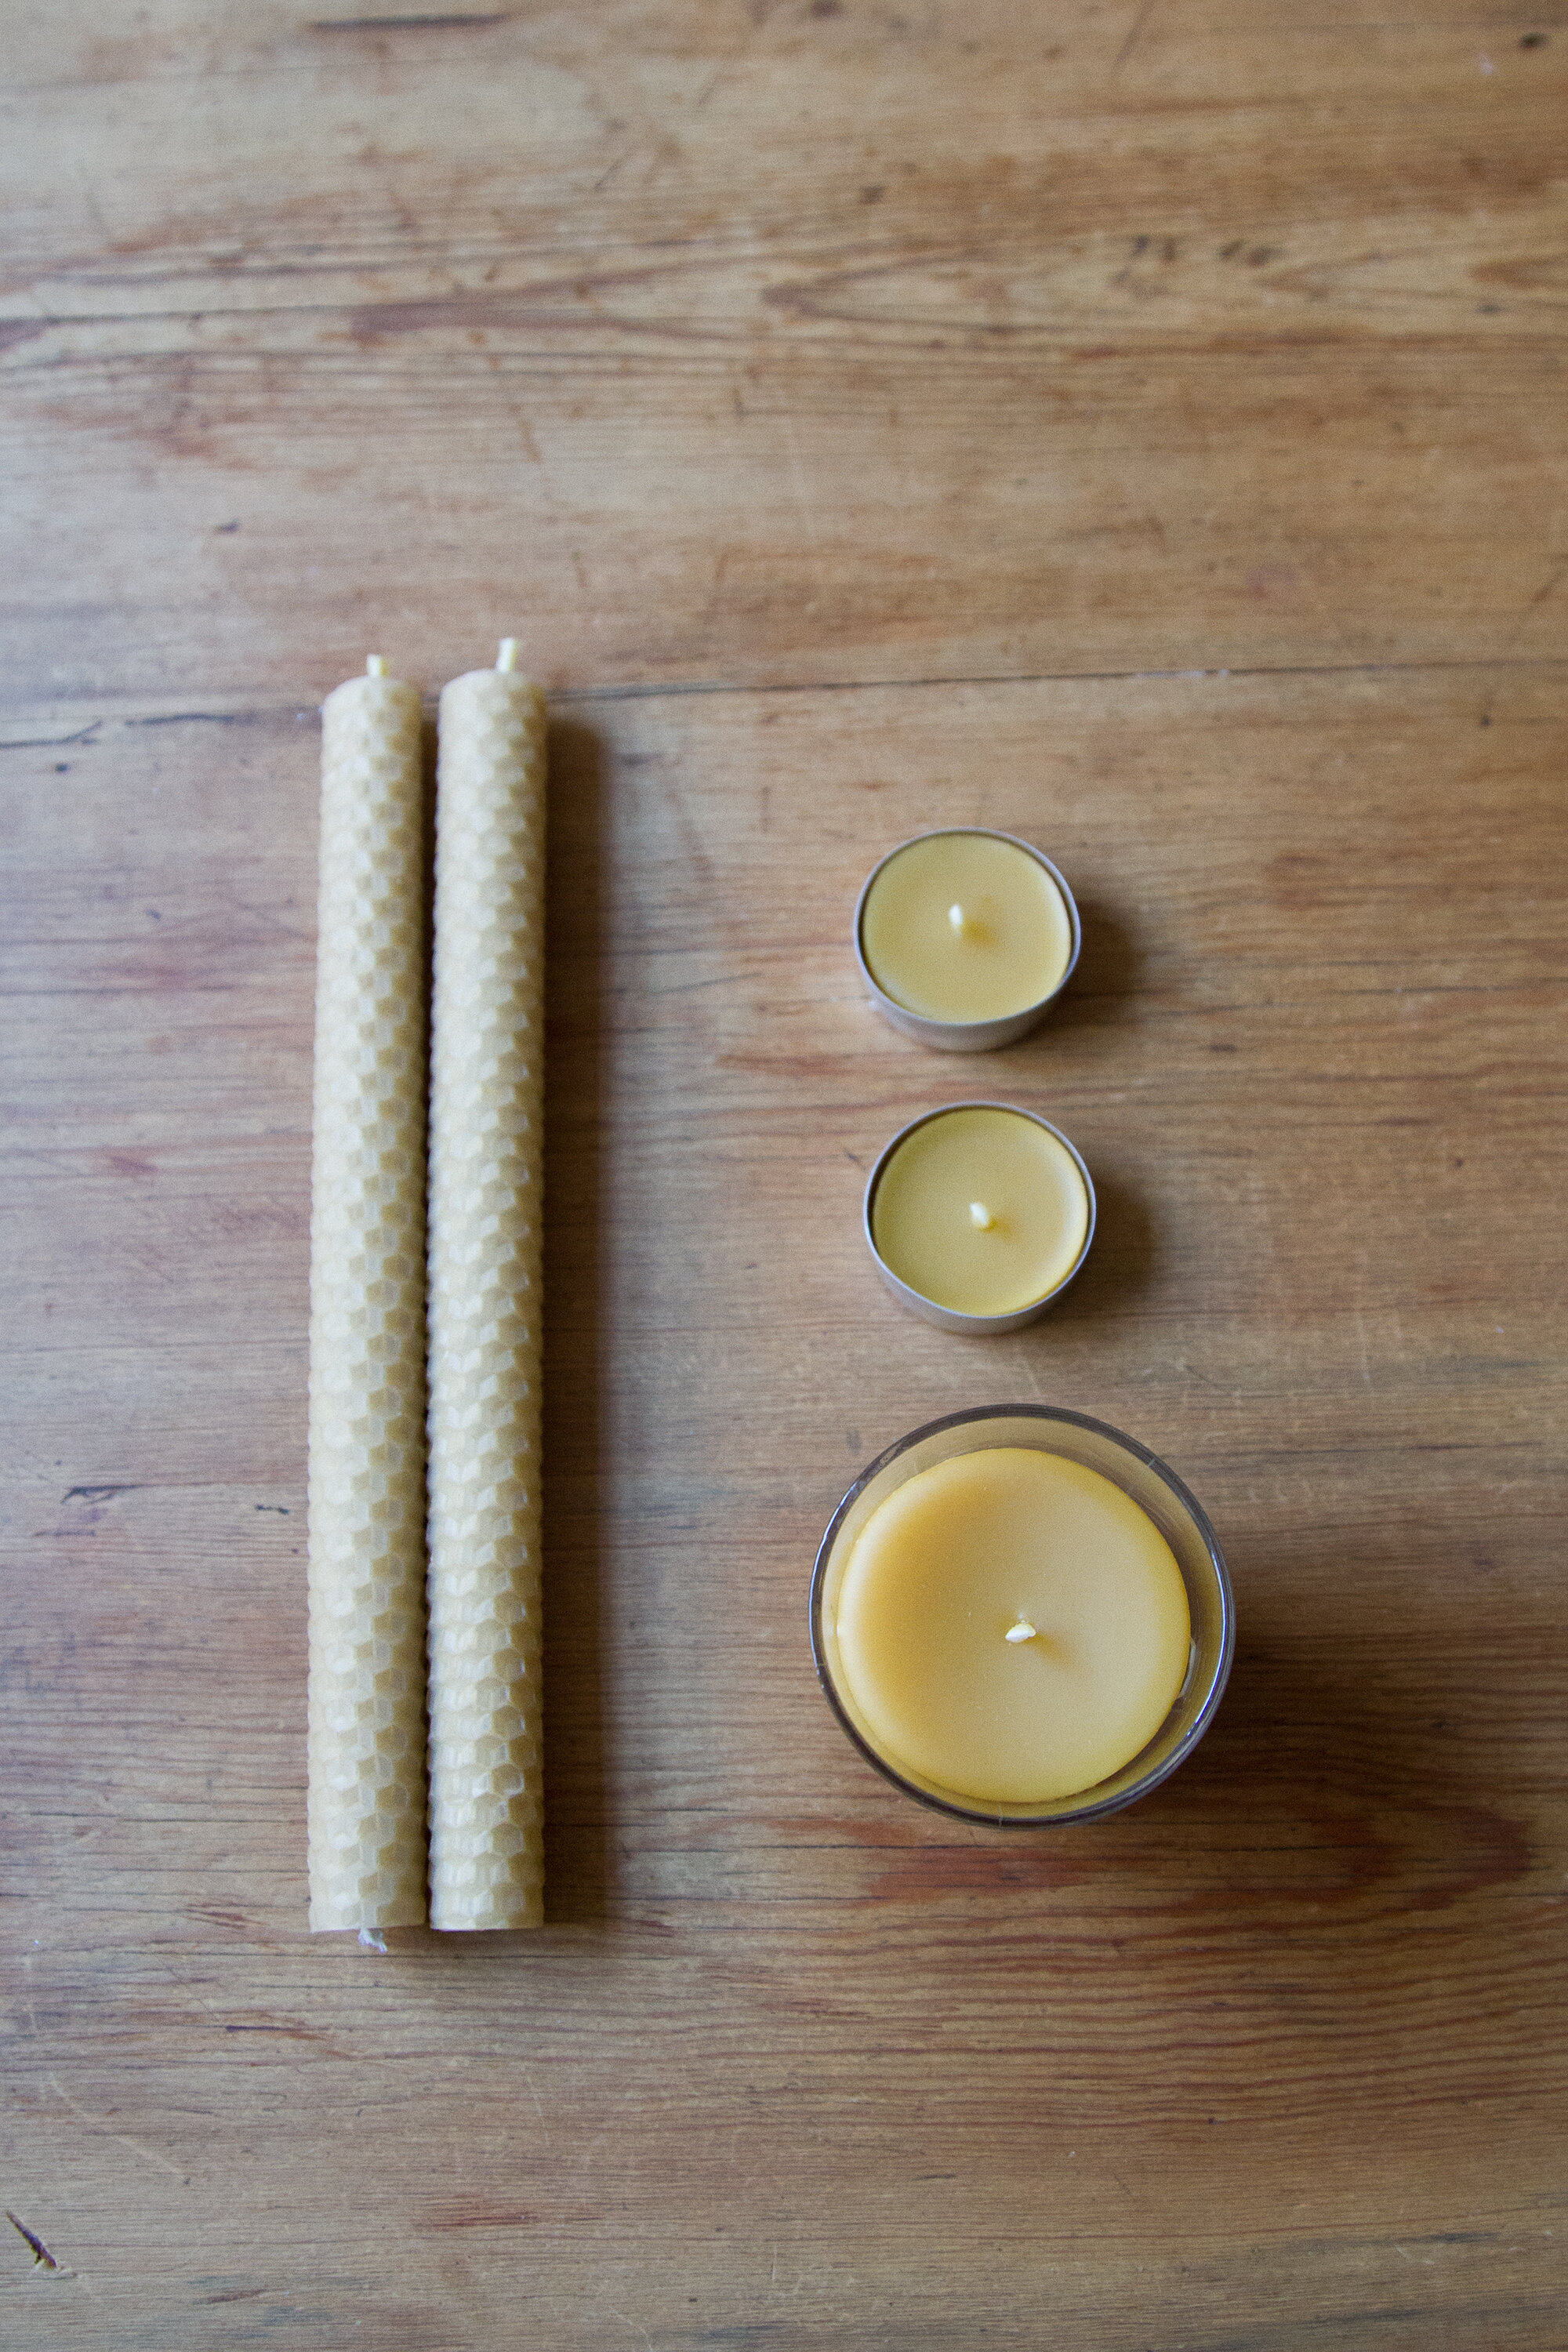
Tips: I used to buy my wicking by the yard, but ultimately went for a larger spool to make it considerably more cost-efficient. When you’re looking to buy wicking, just keep in mind the size of the candles you’re hoping to make and read the seller’s description before buying. The wrong size wick could mean a candle that burns too quickly or a flame that never gets big or bright. I like to use 100% cotton wicks.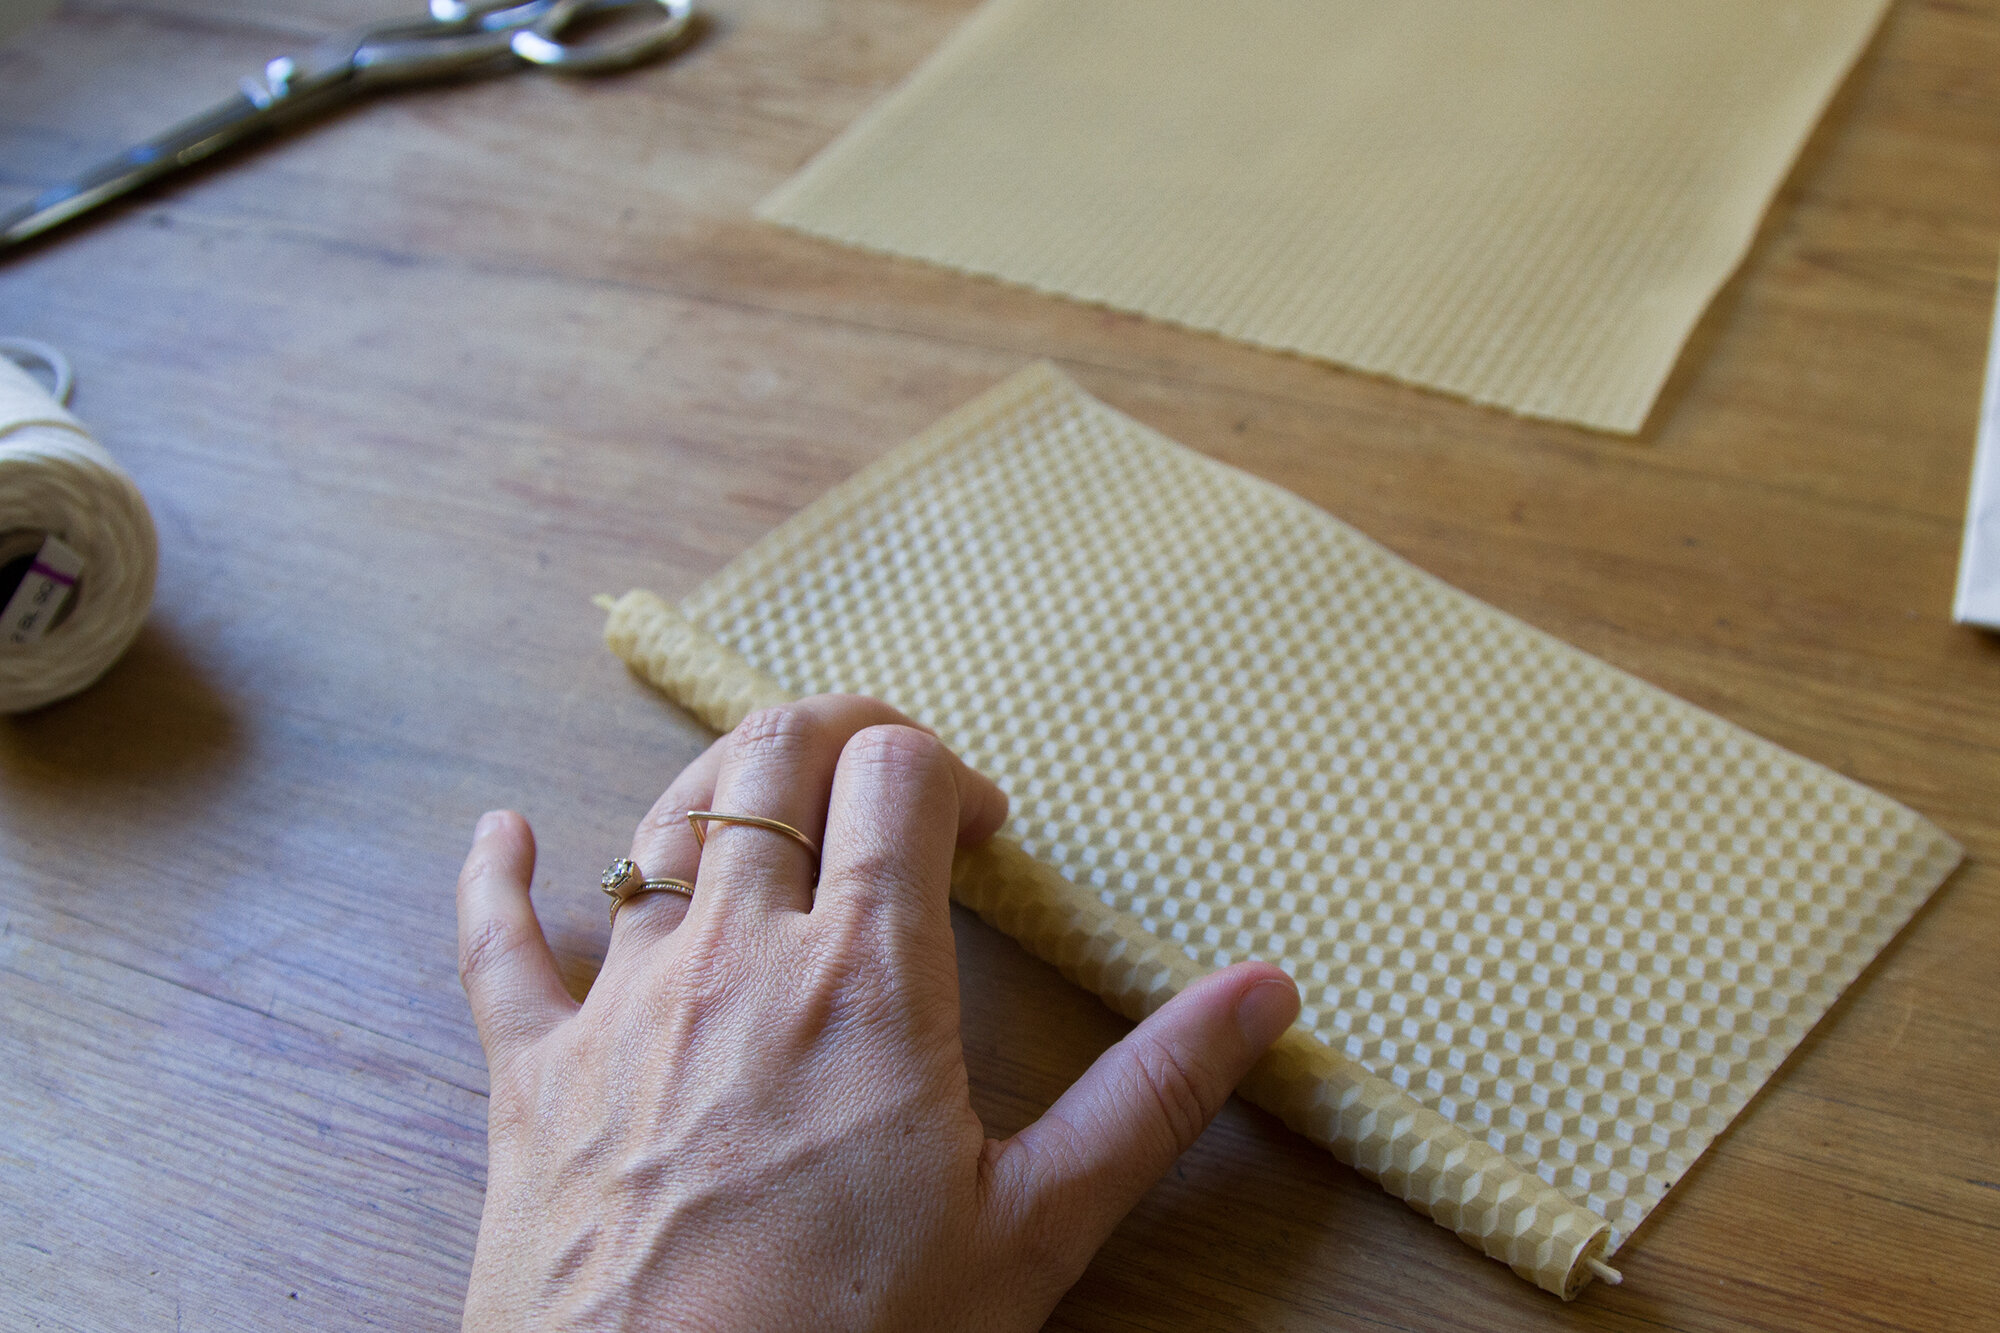 Tapers: A beautiful set of dipped beeswax tapers is going to cost you, but they’re elegant enough to warrant the occasional splurge. I love to give them to people as special gifts. Solid tapers definitely burn slower than the hand-rolled kind made from wax foundation, but I love keeping sheets of wax foundation on hand that I can use to quickly roll a set to give as a gift or use on the dinner table. If you cut the wax sheets to size before rolling them, you can also use wax foundation to make your own birthday candles, (or controversial Christmas candles), or even a chubby pillar candle if that’s what you’re after. Here’s my basic candle rolling tutorial from several years ago, if you need some pointers on how it’s done.
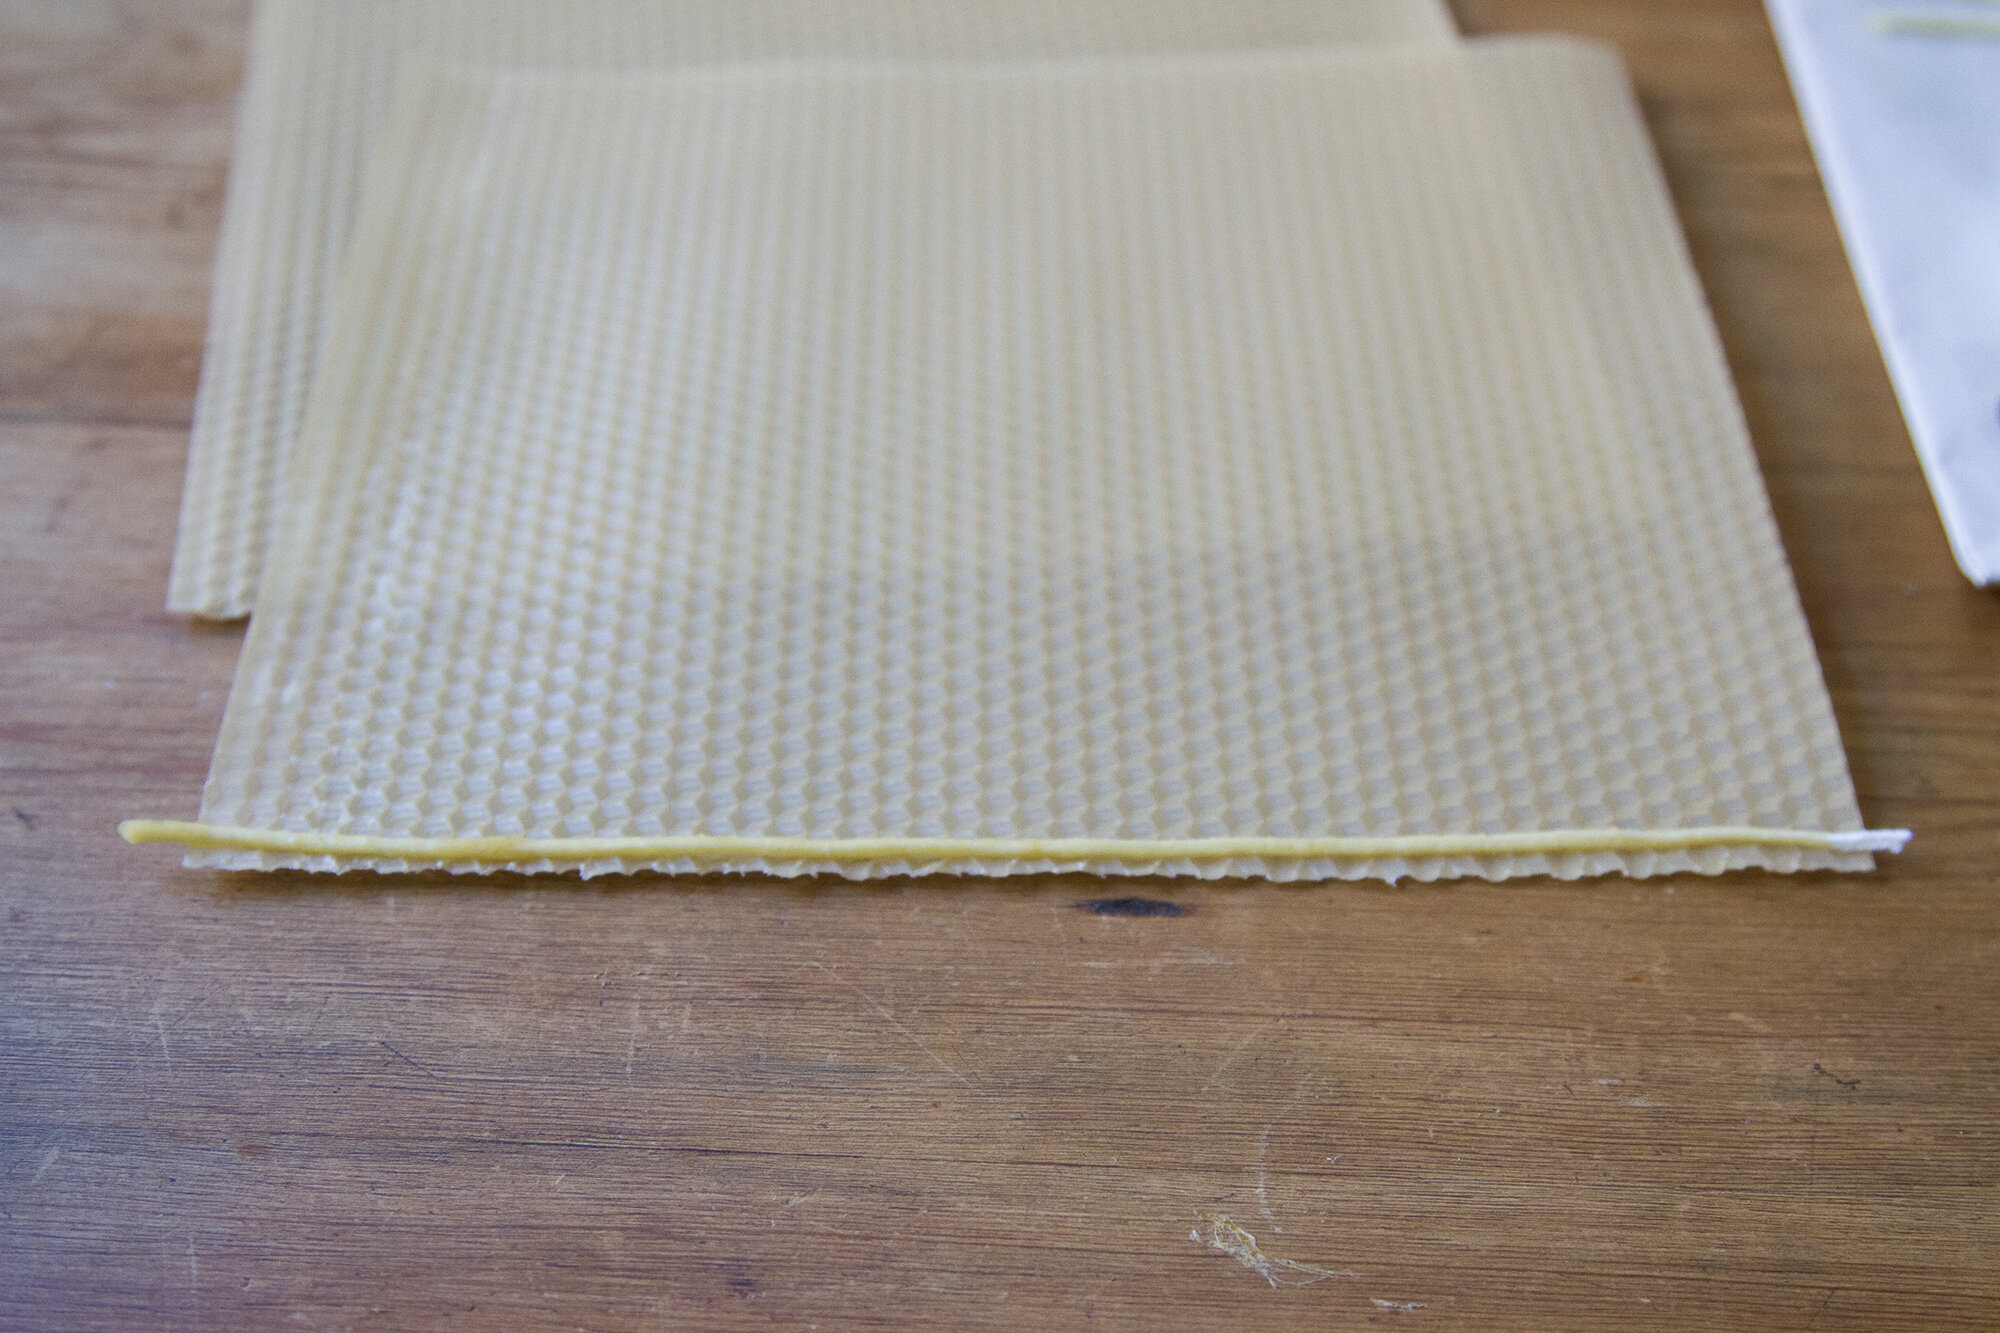
Tips: Roll your candles as tightly as possible. The tighter you roll, the slower they’ll burn and the longer they’ll last. As your candle burns, save the melted wax, if any, that falls down the side of the candles. 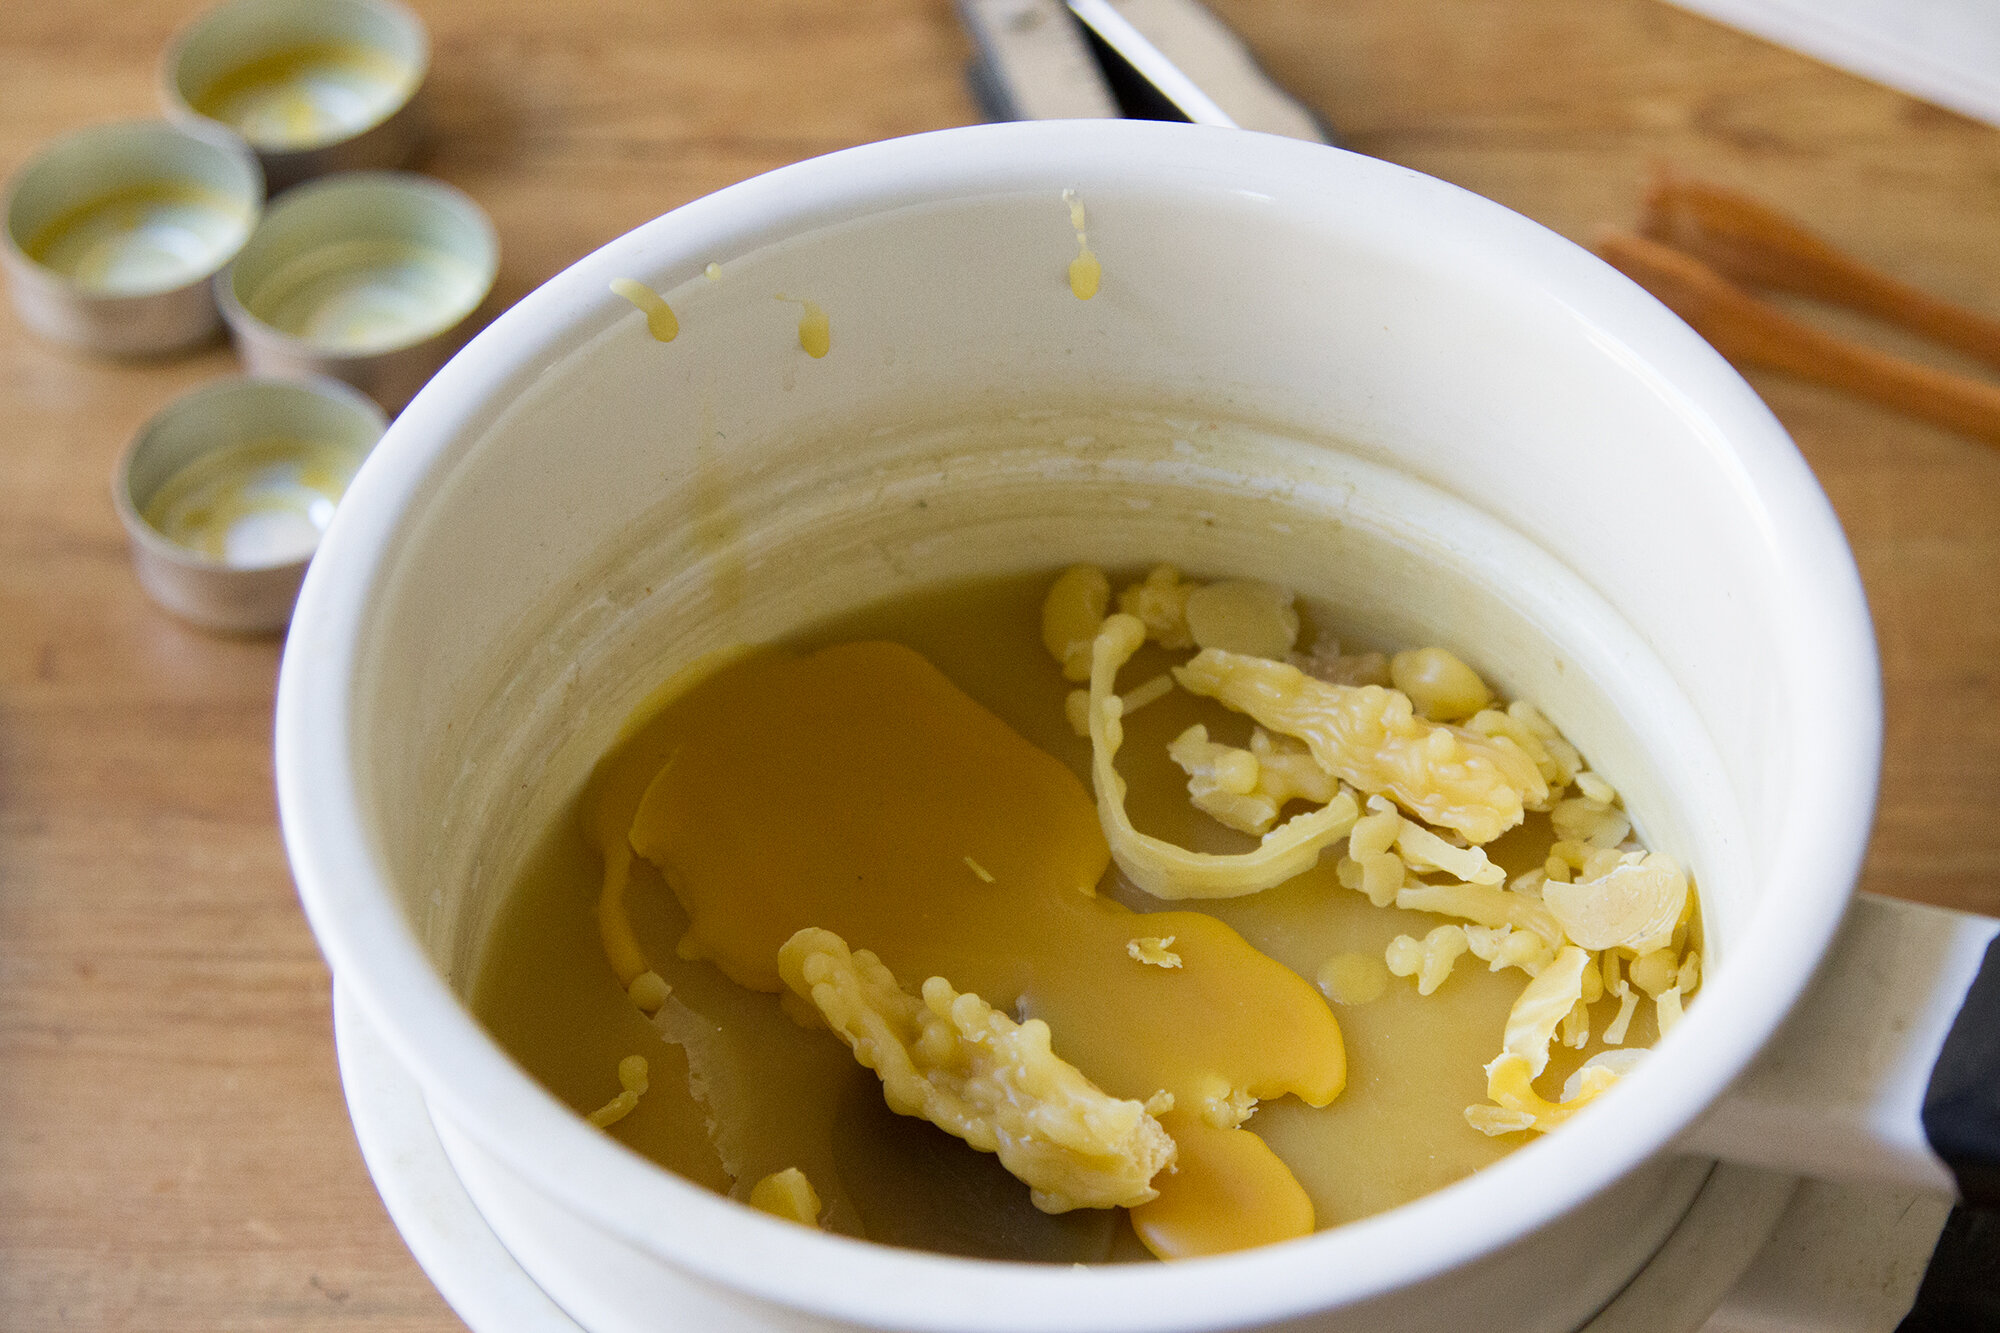
Whenever I have an extra little scrap of wax, I toss it directly into the enamel saucepan that I keep under the sink to melt down for next time.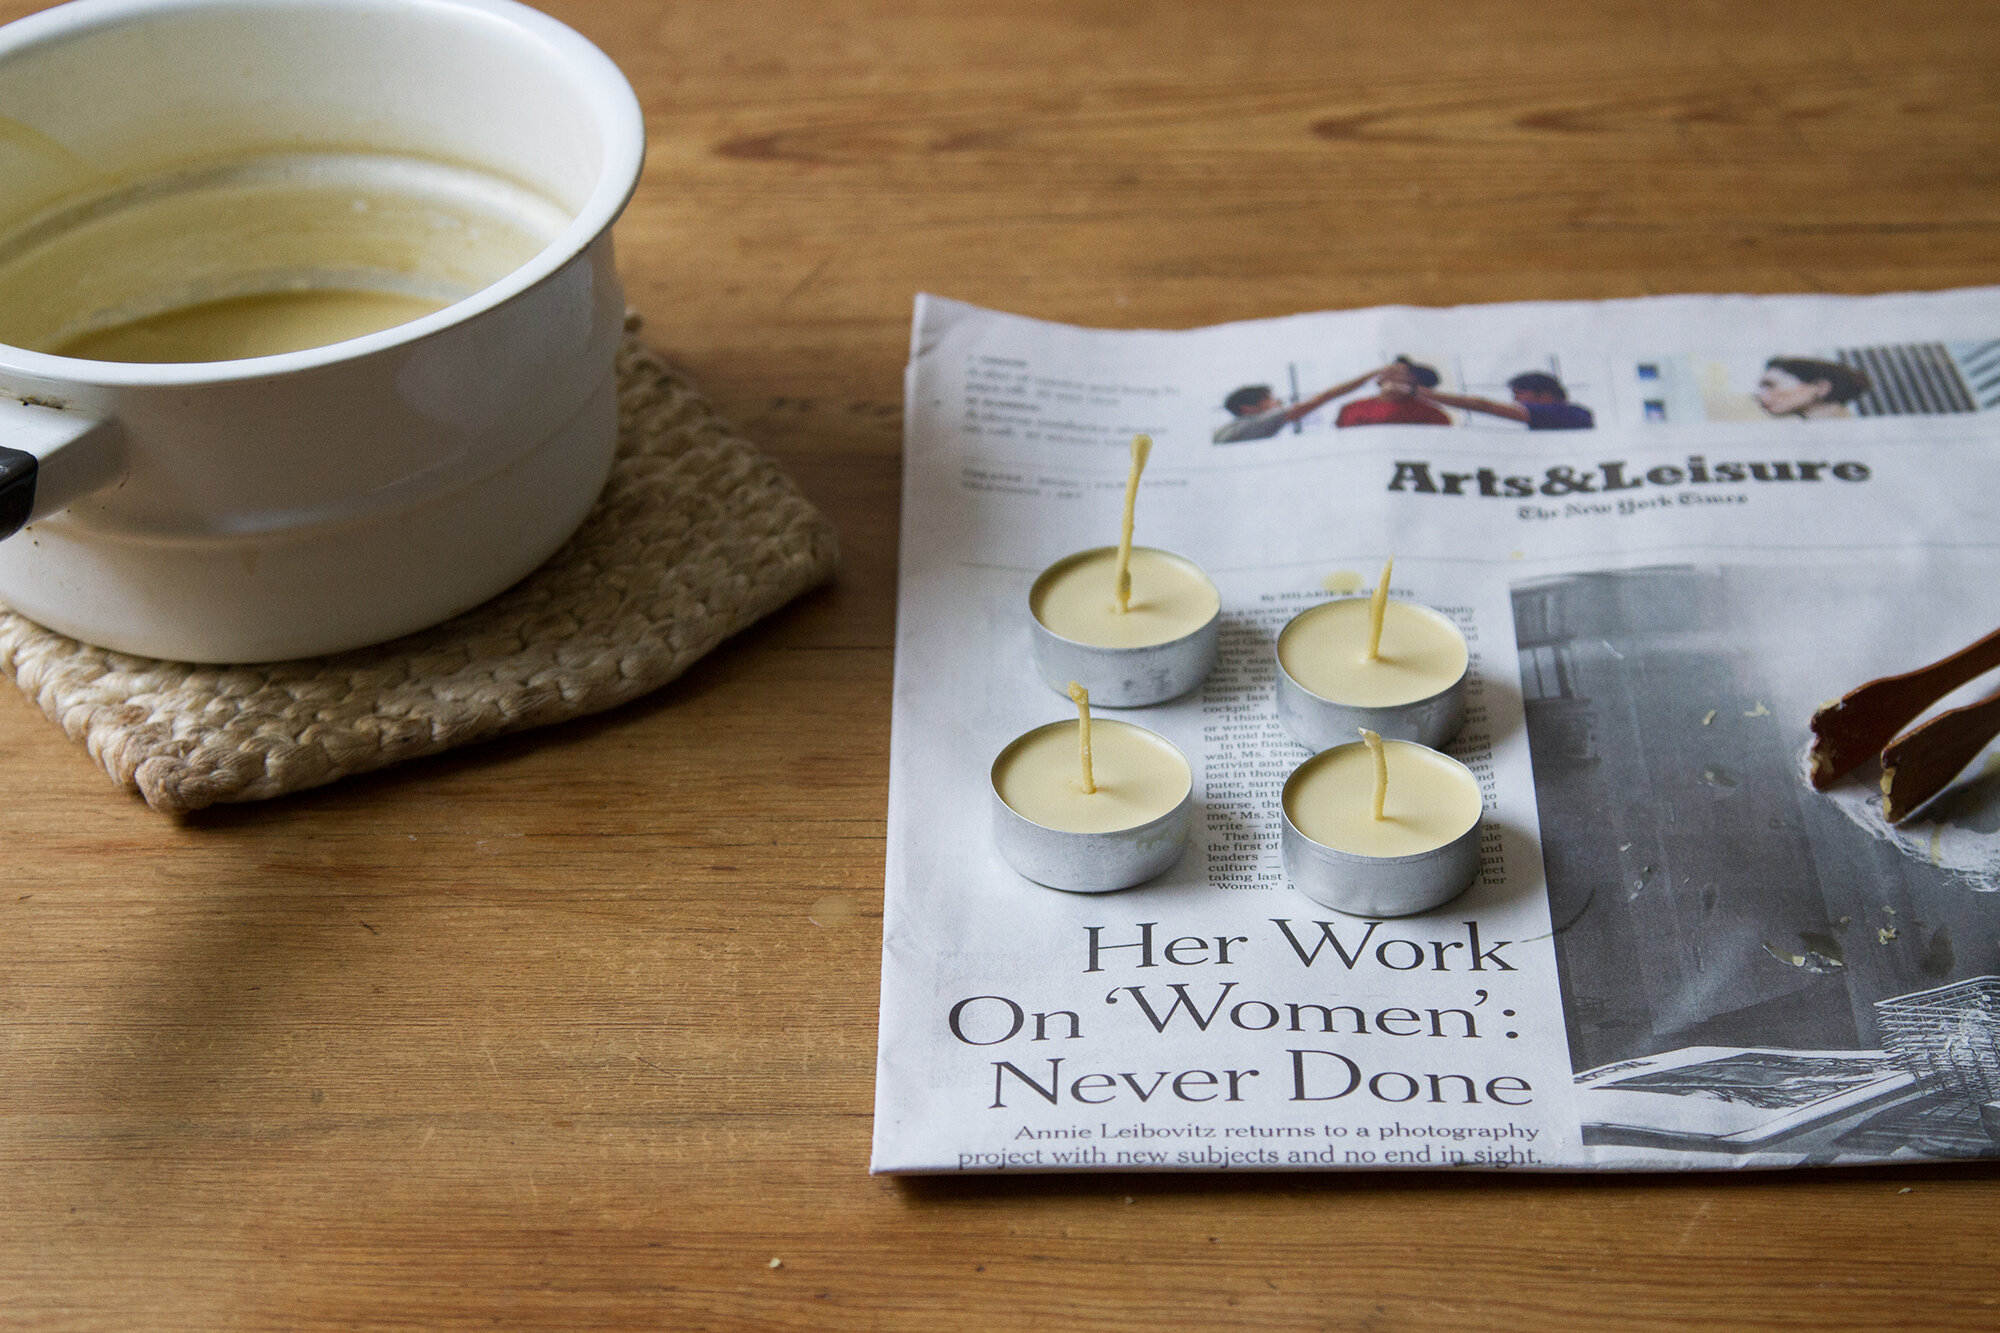
Tea lights: Tea lights of the variety that come 100 to a plastic bag are typically made from paraffin wax—a non-renewable by-product of petroleum or coal—and these cheap tea lights often have wicks with a metal core that could be made of lead, tin, or zinc. Inexpensive, yes, but at a price. Still, I love the twinkly effect of putting tiny tea lights into small vessels to cozy up a dark evening. Because they’re self-contained they’re less messy than, say, simply filling a glass or cup with a candle. 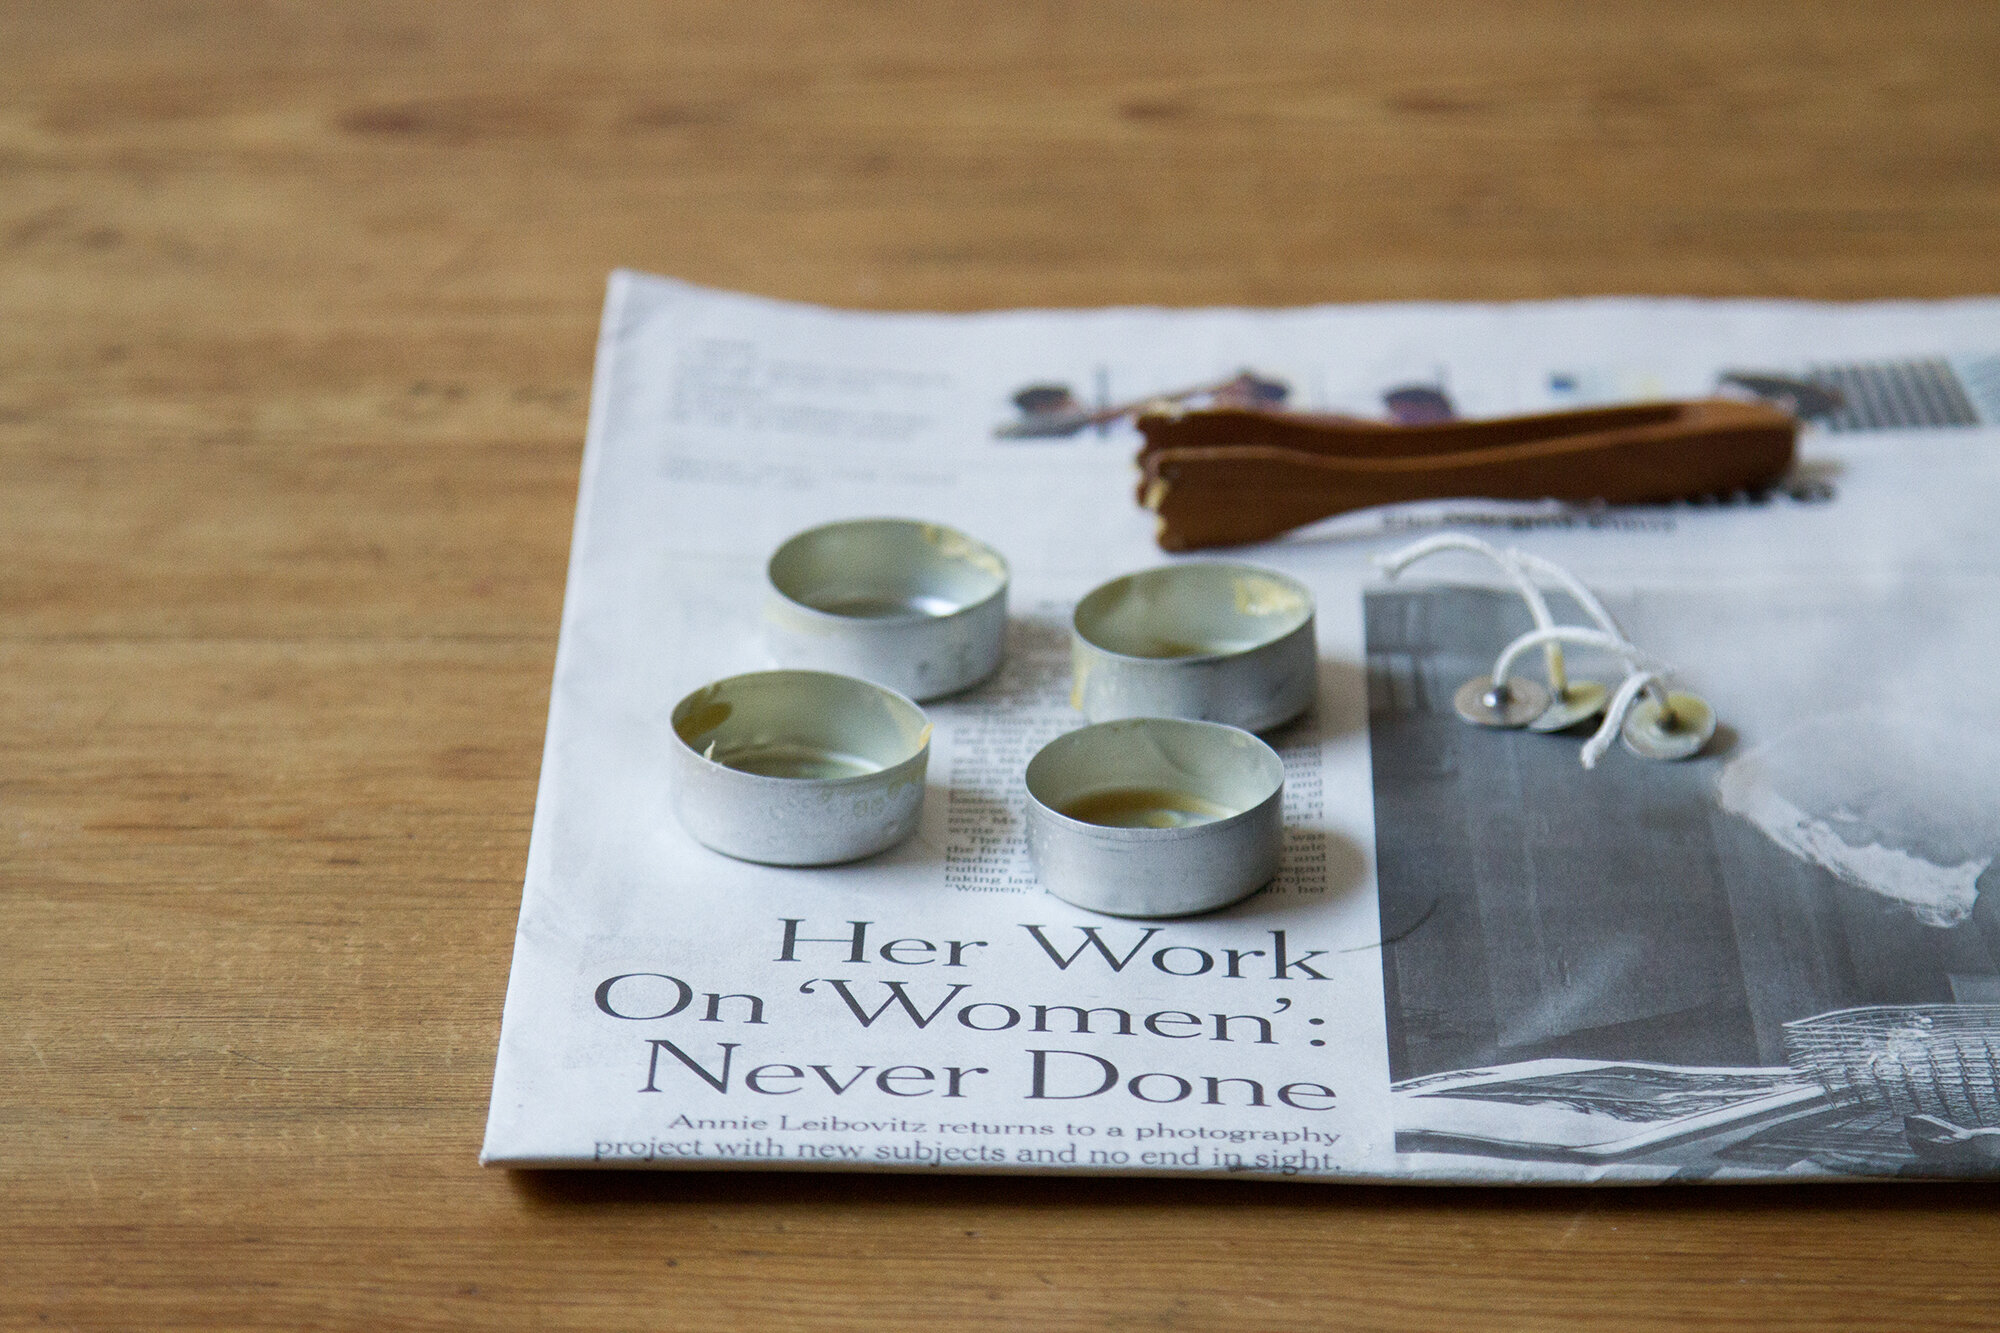
Tips: Save the little metal cups that tea lights come in and refill them over and over again. You can either buy pre-poured tea light inserts to put back into your used cup, or you can melt down your own wax and refill those babies yourself. (If you still have wax or wick left in your tin, just warm it up in a bit of shallow hot water and pour it back into your beeswax stock—removing the burned wicks with a pair of tongs.) If you pour your own candles, you’ll need to use a wick tab to secure your wick and keep it from flopping over once the wax begins to melt. Reusing old tabs is admittedly a little onerous—the wick tab shaft get pinched when the wick is first put in and so you’ll need to use a sharp object (I started with a pair of pliers and had better luck with a closed pair of sharp scissors and yes, I swore a few times) to unclamp the tab and rethread with fresh wick. Alternately, you can purchase new tabs and thread them yourself but decide not to pinch them all the way shut so that you can rethread wick more easily once the candle burns out. You can also buy pre-threaded tabs. So many options. If you opt out of using tabs altogether, you can expect that your tea light will burn about half way before the wick tips and you’ll have to remelt and start over. (Trust me, I’ve tried.)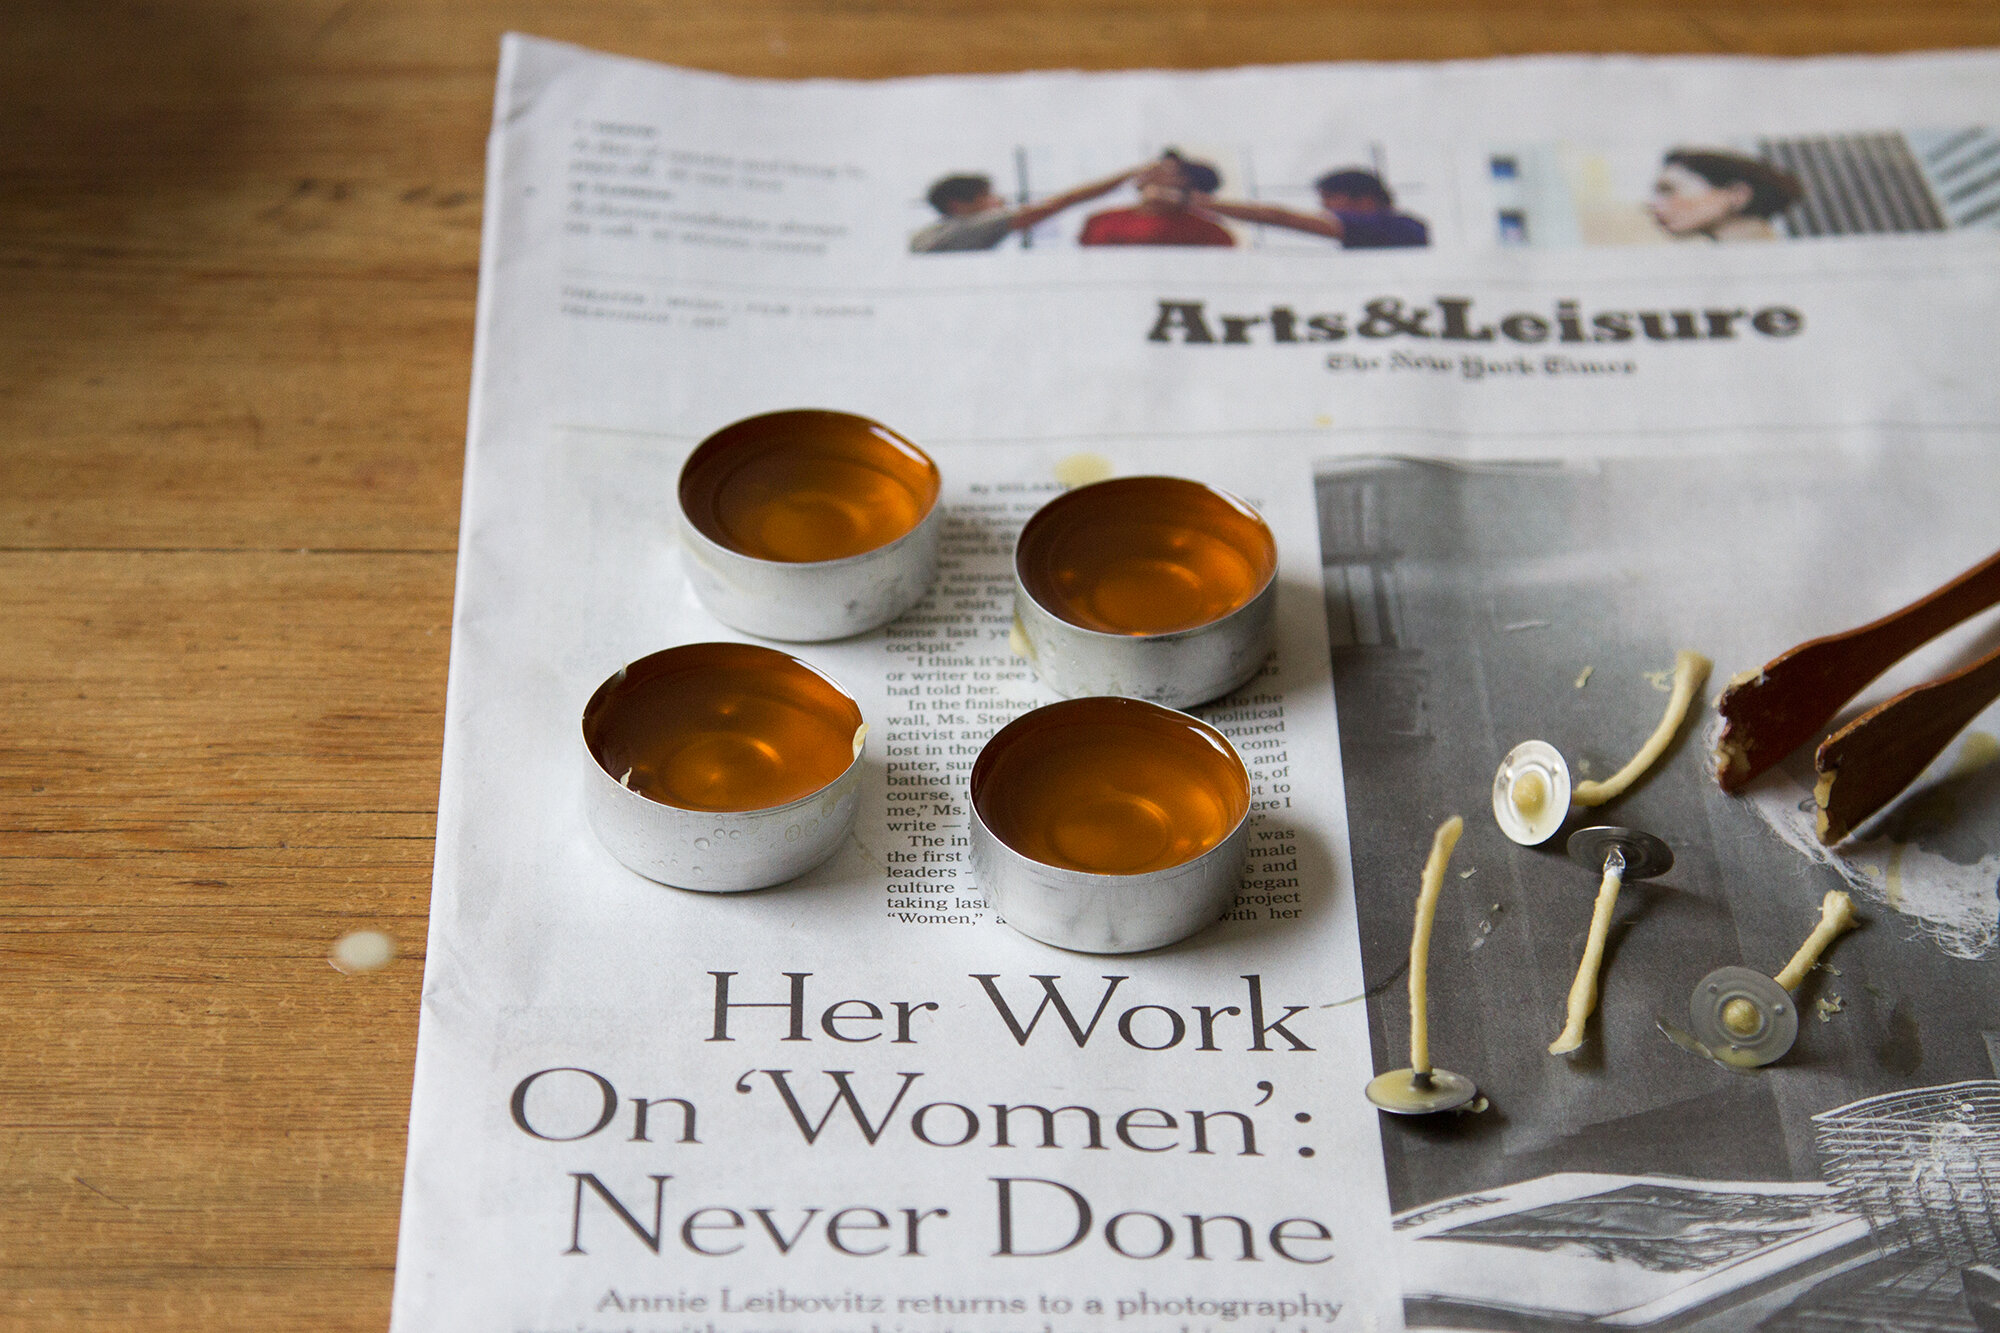
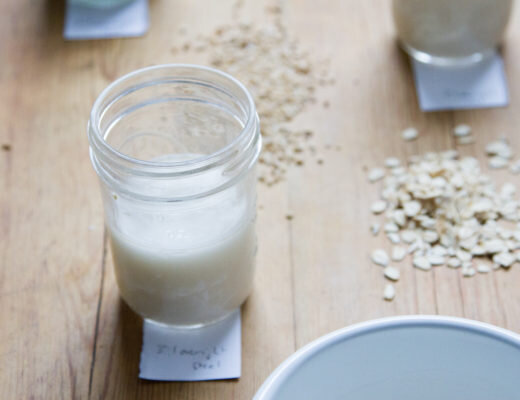
When pouring candles, I always pour first, and place my wick second. In this case, I was using wick tabs, which I rethreaded first and then primed in melted beeswax. (I didn’t repinch my tabs shut since they were already pretty well pinched.) Pour your hot wax in to the tins and then wait a few minutes before sinking the wick.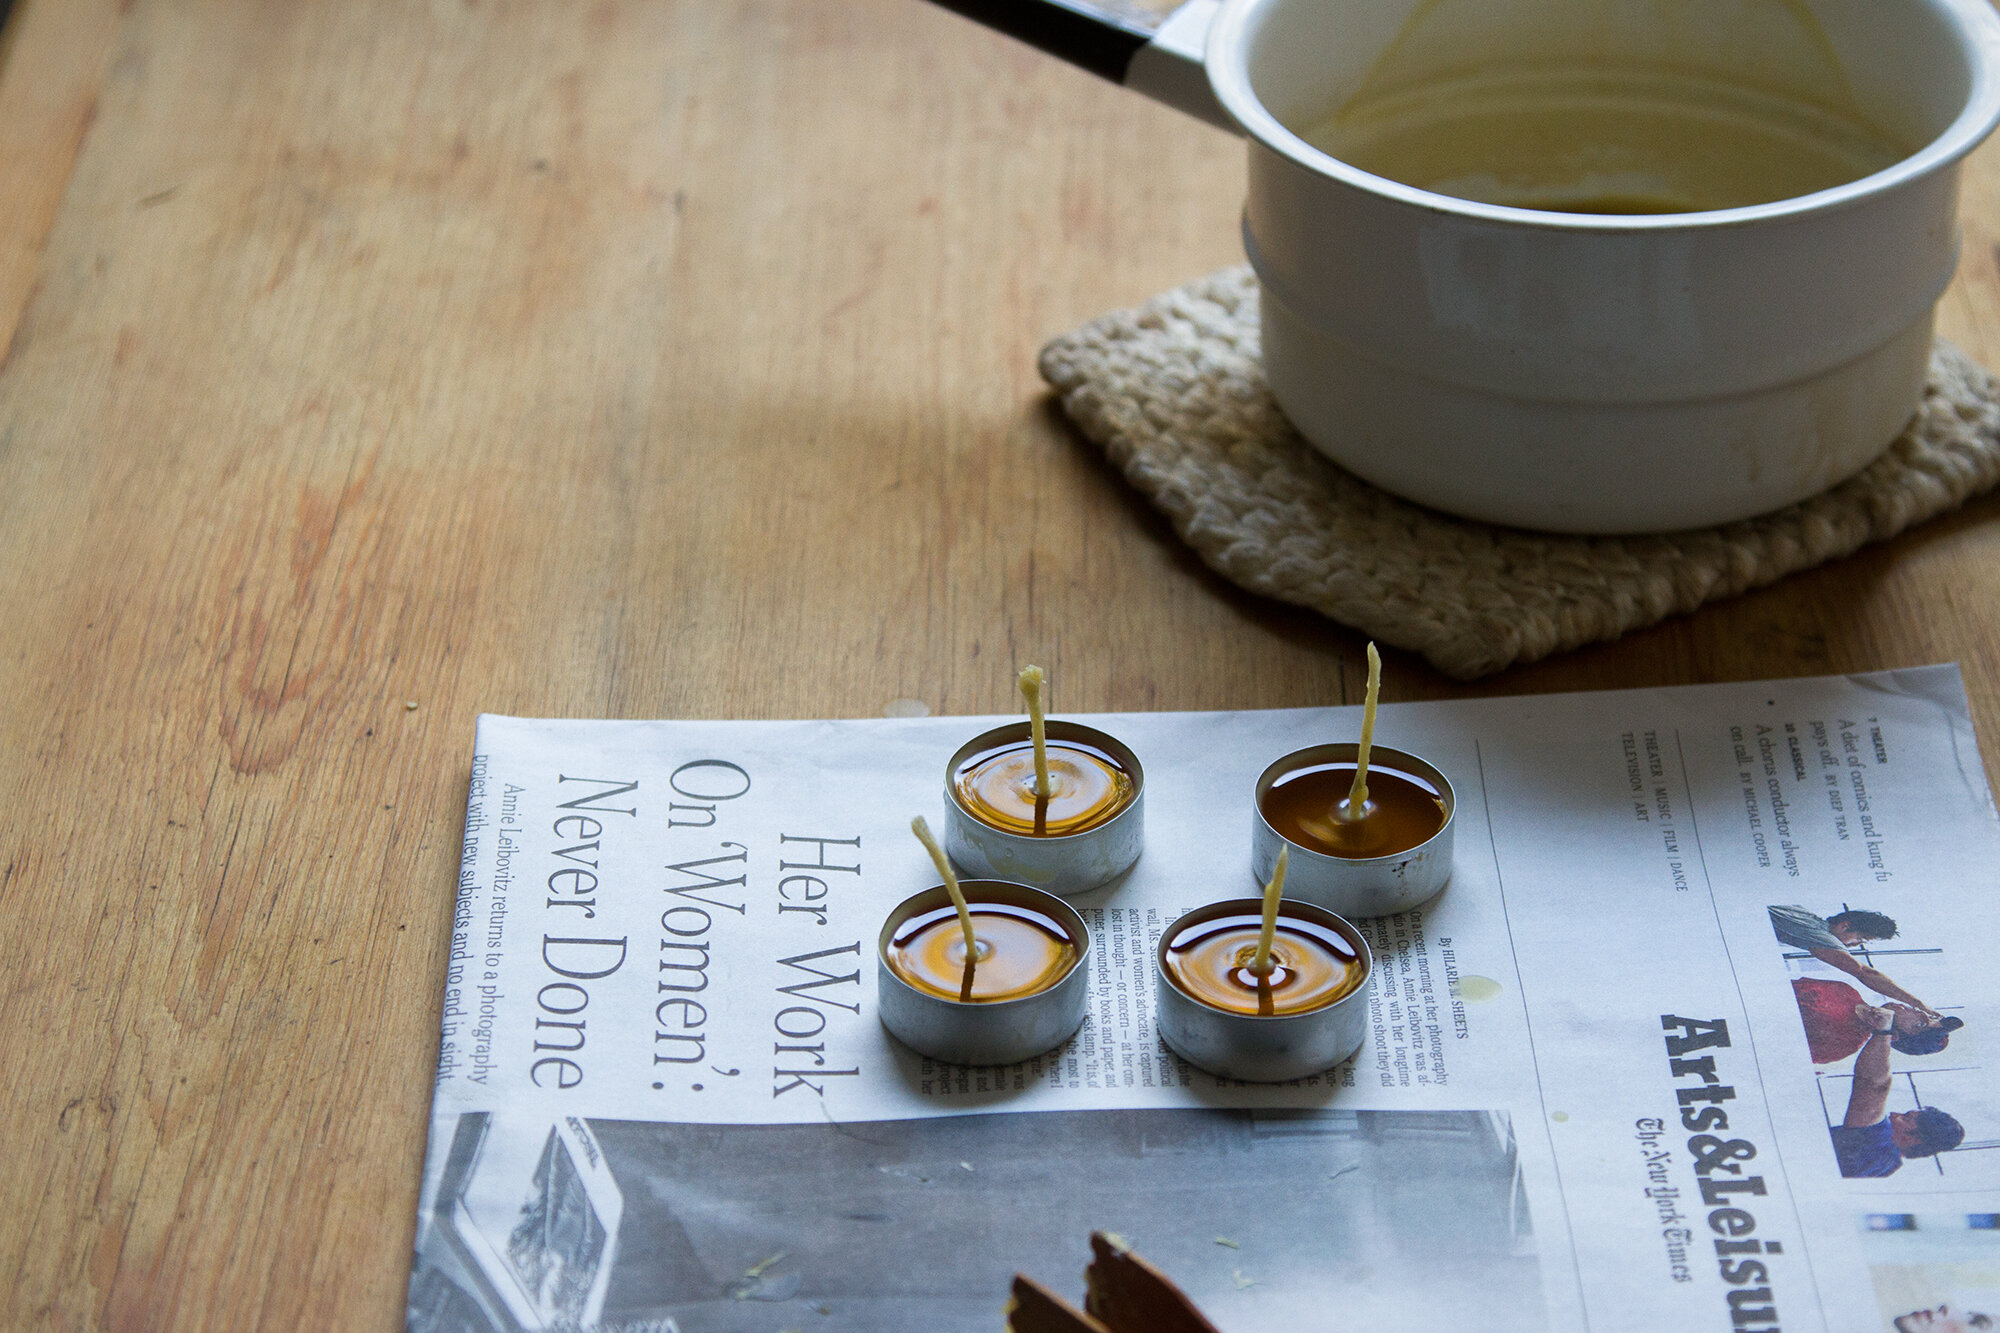
By pouring first and placing second, you’ll get the wick centered but the still-liquid wax won’t crack when you put in the wick. Once the wax has hardened, trim the wick so that it’s just half a centimeter or so long.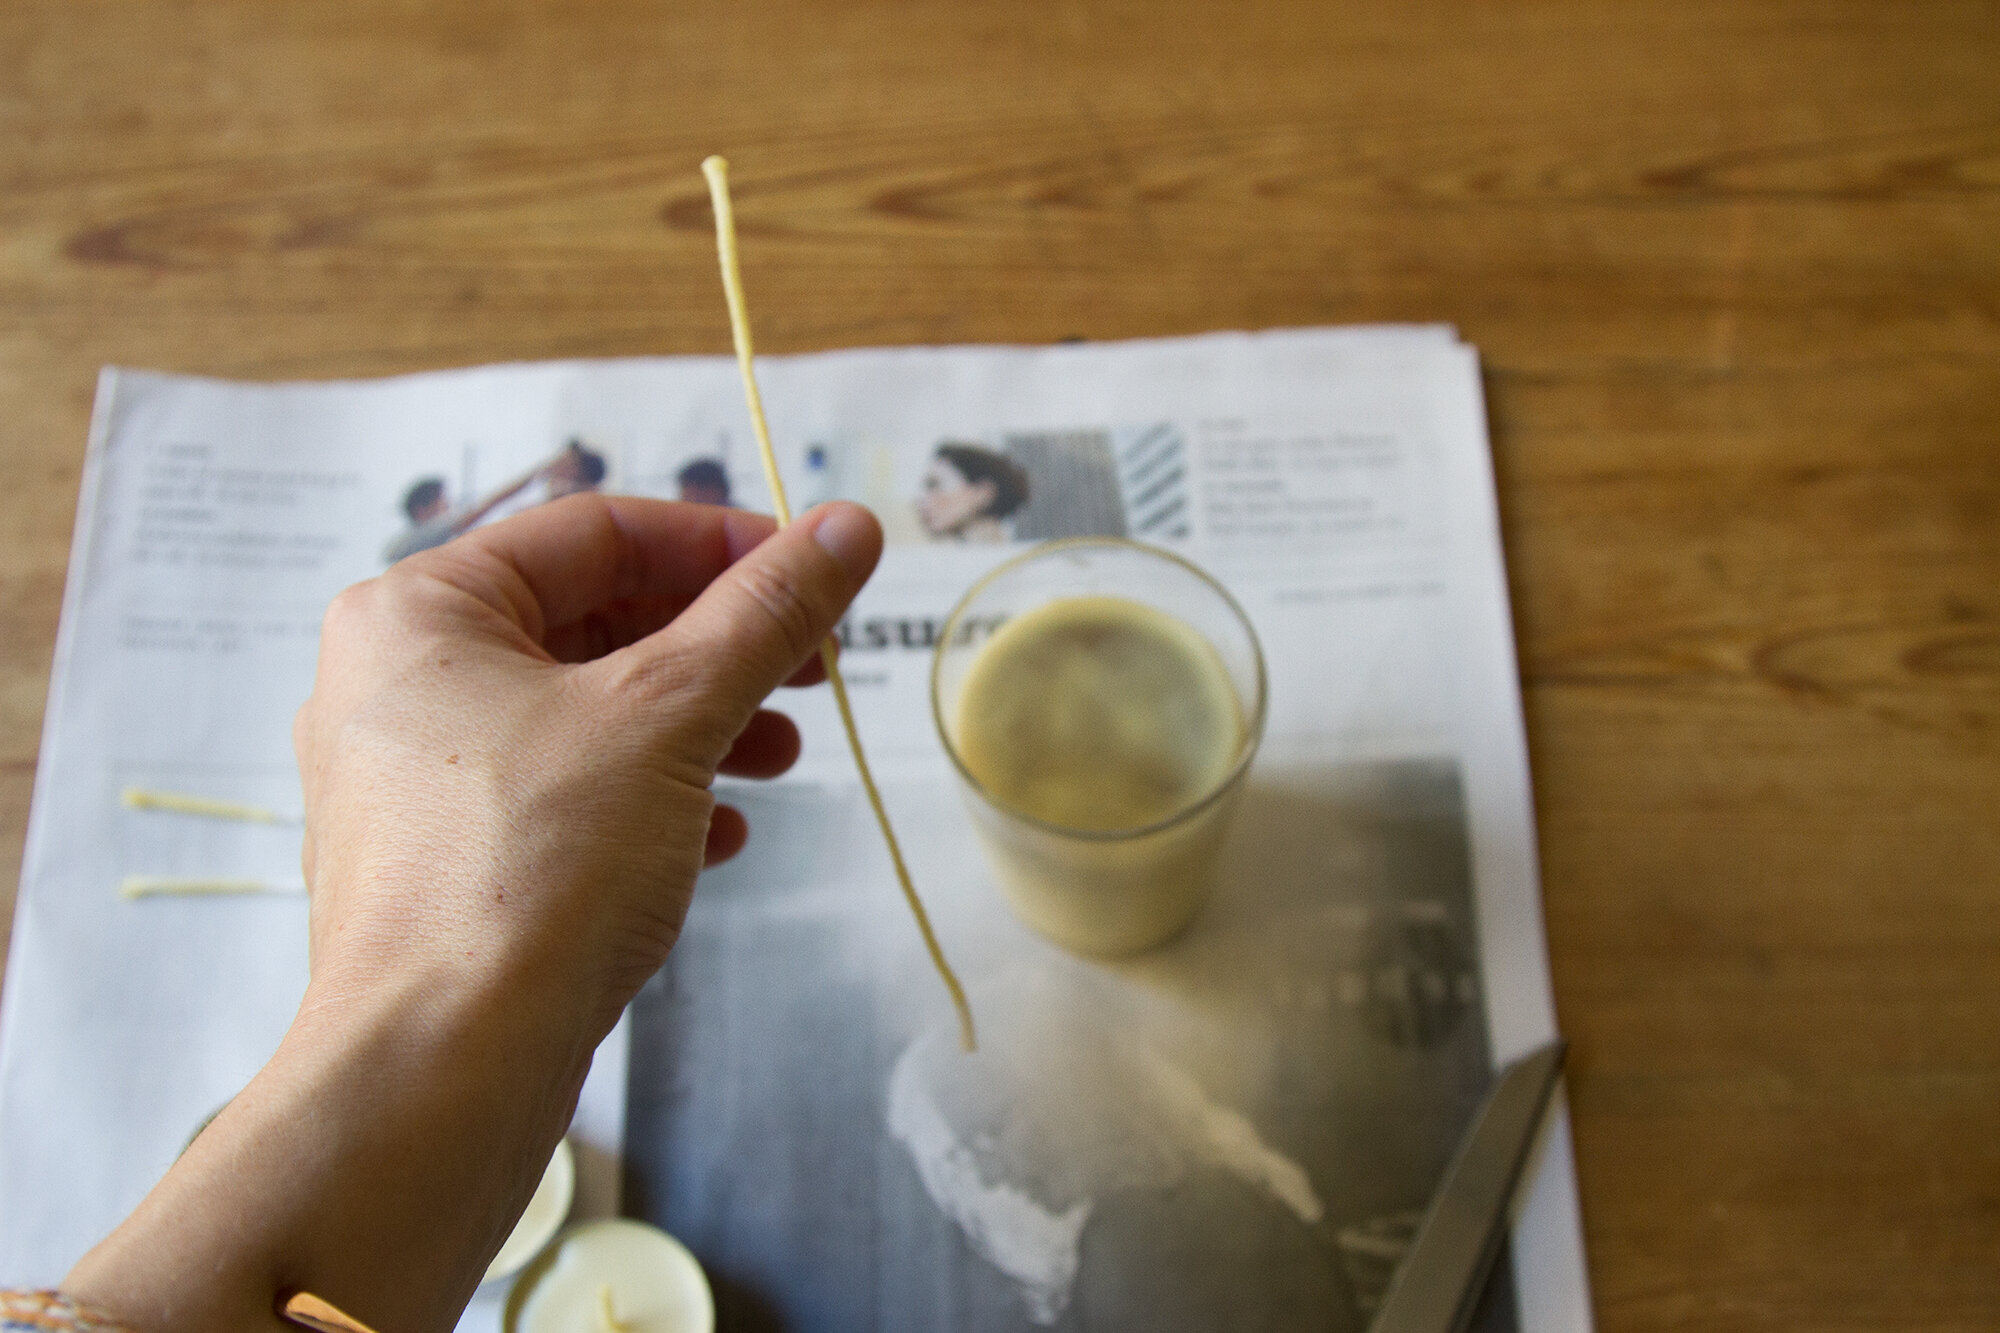 Other kinds of poured candles:
If making and remaking tea lights doesn’t excite you or seems too tiresome, you can certainly pour melted wax into a larger vessel instead. Think carefully about the vessel you use: it’s true that the majority of the wax will simply burn away, but you’ll always have some amount of residue left behind post-burning and when I’ve used a vessel I wanted to use later for something other than candles, that’s usually created more cleanup than I’m in the mood for. (Though freezing a container with wax in it helps a great deal to dislodge stuck wax.) You’ll also want to be careful about the kind of glass that you use. Untempered glass can heat up too much and could break as it heats up. To be safe, stick with glasses that are designed for having candles in them; it’s a great opportunity to reuse old candle vessels. In these cases, using a wick tab (see above) is also a good idea. I didn’t use one here and I had to remelt my wax and start over once the candle was burned about 2/3 down.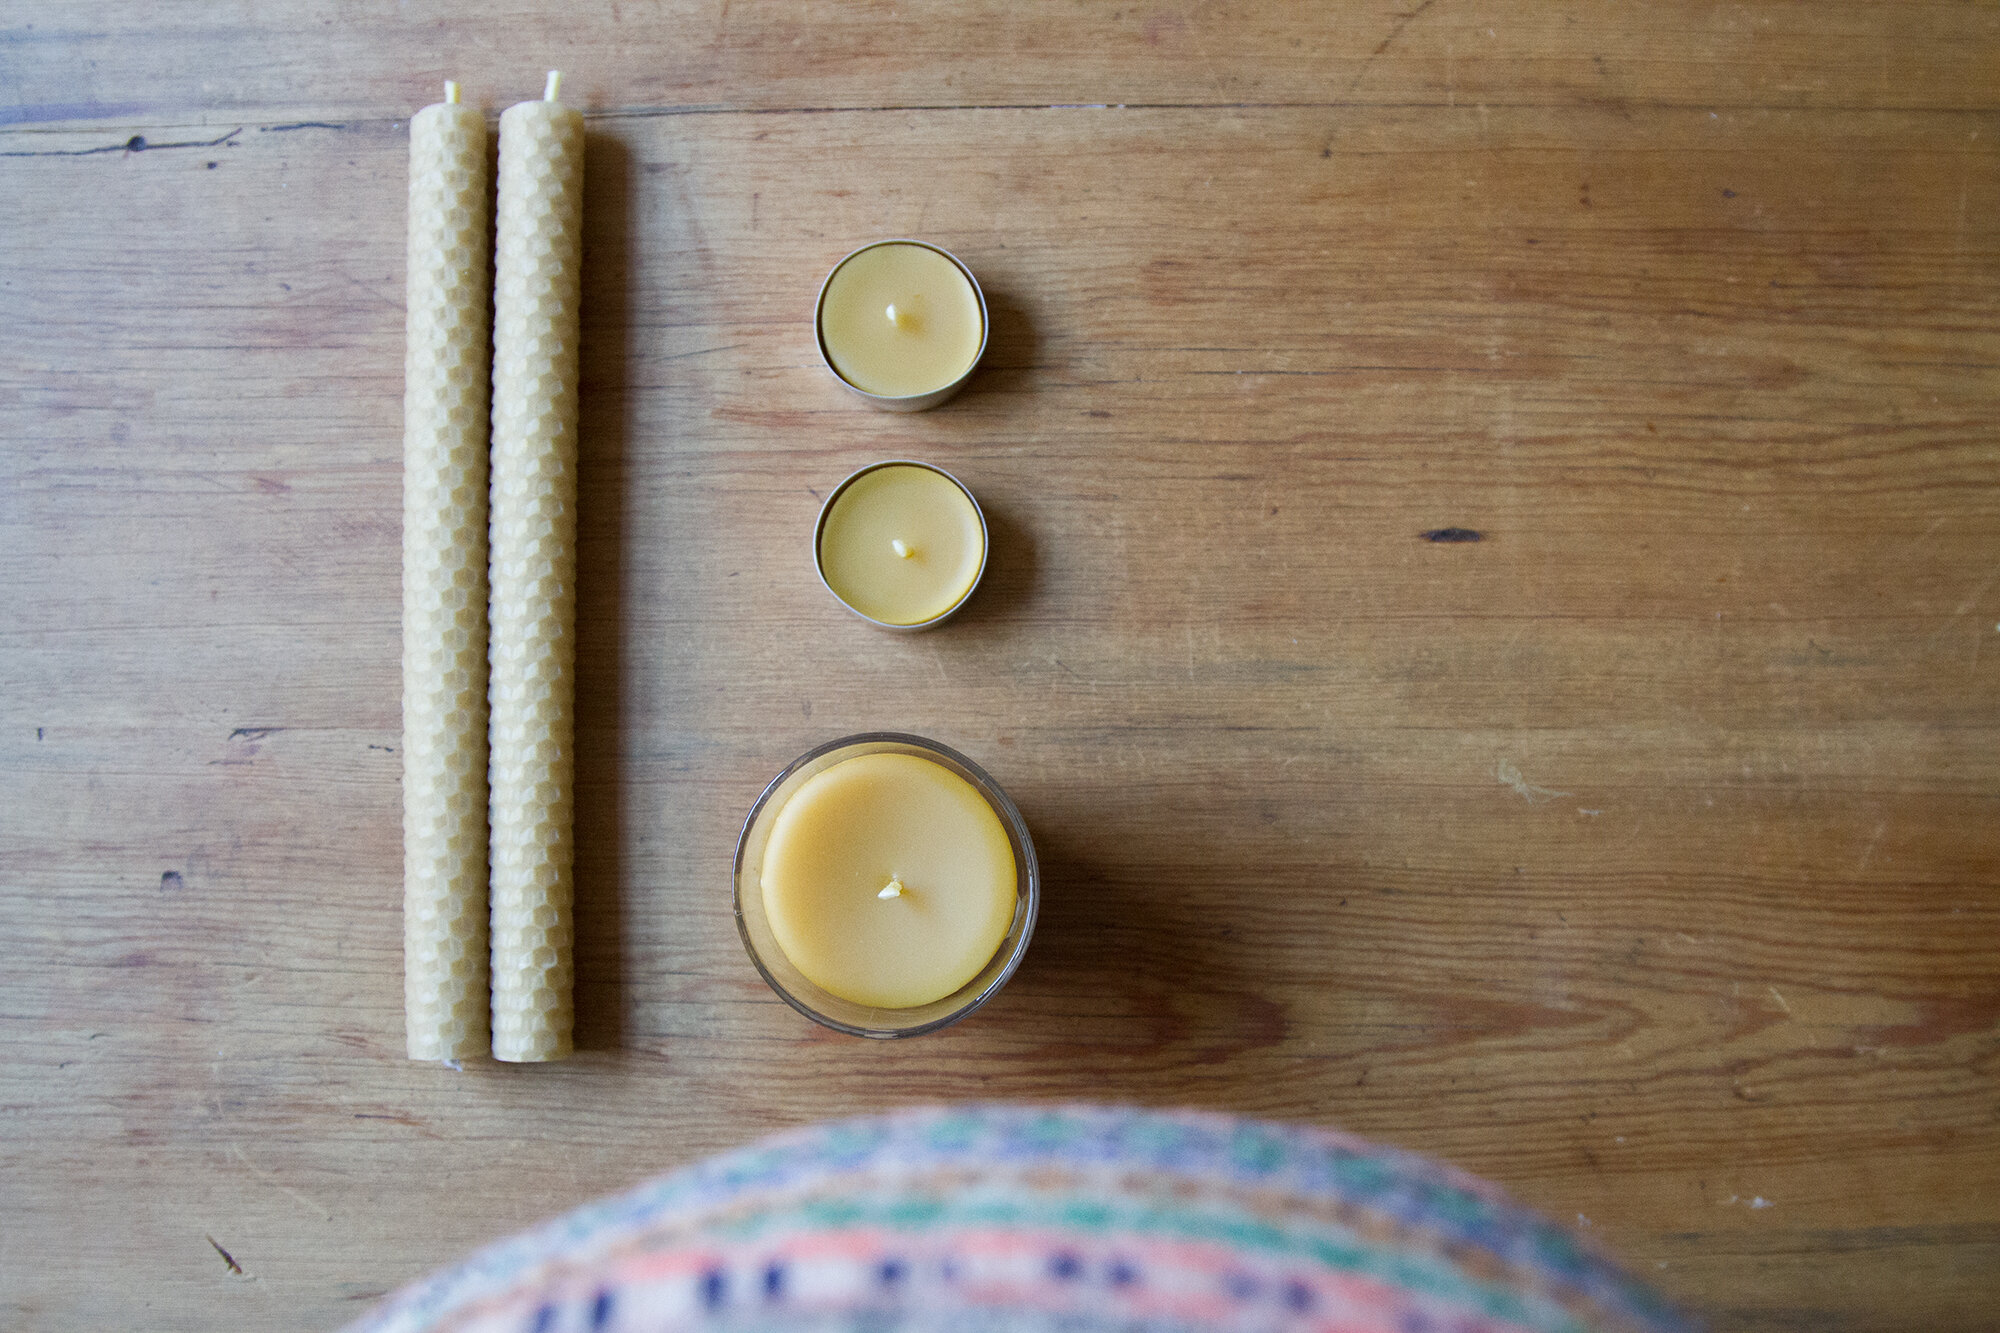
A reminder: These are tips from a layperson. This isn’t a post designed to turn any of us into an expert candlemaker overnight. We can certainly leave that to the pros. But these are a few of the things I do to extend my candle-life at home and to keep the place glowing through the deep midwinter. As one needs to be when embracing this sort of thing, I’m gentle with myself about inconsistencies. As always, keep a watchful when burning candles of any sort.
In case you want to leave things to the professionals, a few beautiful candle options:
Greentree Home, exquisite beeswax candles made in the Catskills.
Pioneer Candles, hand-dipped in Oklahoma.
Bayberry candles, beeswax + bayberry.
In case you’re looking for candlesticks, a few favorites:

24 Comments
I adore beeswax candles! And I also take old wax and melt it down to create new candles. I have to plug one of my favorite makers of beeswax candles though: Pollen Arts. They are a couple with really neat back story (available to read on their blog!) but their candles sold on Etsy speak for themselves: https://www.etsy.com/shop/pollenArts
Thanks so much Erin!
I have an inherited German Christmas pyramid/nativity that has candle holders that I’ve never been able to find candles that fit (they need to be about 1/2 inch in diameter and four to six inches tall, and I would really prefer beeswax), and this post gave me inspiration! I could buy wax sheets and roll tiny candles to fit! Off to the local craft store to see if they sell wax sheets!
The most helpful thing about this post, for me, was your indicating where you store each thing. I’d love to see you do this all the time. It is so helpful for those of us who live in small spaces, but lack imagination when it comes to possible storage spots. More proof (not that any was needed) as to why yours is my favourite blog.
I love using beeswax candles, and I love little votive candles in glasses. Over the years I perfected my technique to get the wax out of the glasses: Simply pour boiling water into the votive glass (if the glass is meant for candles, it can handle hot water – I’ve never had one crack or shatter). Fill the glass almost all the way to the top, stopping a few millimetres below the rim. The wax will melt and float to the top. I then simply wait until the water is cold and the wax solid, and then I pour the water out into a little sieve lined with a tissue. This works best when you do it right after the candle is burned out and the wax still somewhat warm. Then it melts faster and forms a layer of wax on the surface of the water. When you have the “right” amount of wax it will form a solid layer, and you can press down gently on one side of it to make it pop out of the votive. It’s fun!
If there’s very little wax left, you can at least clean the glass by filling it with boiling water and let it sit for a minute, Pour out water (use an oven glove!!!) and you can simply wipe it clean with a paper towel or tissue.
Now I feel a bit weird having written such a long comment about how I deal with votive glasses. But it works so well!
Haha Alexandra, don’t feel weird! I was just about to comment the same thing about cleaning out candle jars! I used to work in a restaurant that had jars of tealights on every table and every night after service we would have to clean out and re-polish the candle jars for the next day (before re-filling them with the aforementioned cheap, toxic tealights. Ha!) We would pour boiling water into the jars which sat for about a minute to let the wax loosen, then tip out the water over a cloth napkin (though now that I’m thinking of it, we didn’t have to launder those napkins ourselves so maybe the tissue makes more sense for home use… or if you pour out enough wax into the napkin there will be a big enough layer to peel off whole). We’d polish the glasses with a cloth while they were still warm and they’d be perfectly clean and shiny for the next day’s service.
This is so cool!
I’ve always wanted to make my own beeswax candles but figured it would be just too much work.
Now with this post maybe I’ll eventually give it a go!
A trick I learned when I was a kid is that if you cut up the sheet of beeswax at a slight 45 degree angle, you’ll get two pieces from one sheet, and each will roll up to have a slight cone-like shape with a twist formed from the cut angle. 🙂
So crafty! I love it, Linda!
These are lovely! I have a vintage candleholder that it is impossible to find candles for, will for sure make my own this winter!
I’ve been wanting to make candles for a while! Thanks for such a great step-by-step. Your blog is absolutely stunning.
xo
This is fun. I come across these types of candles at a local farmers market and mentioned to my wife that it’d be fun to make them ourselves since we love candles and honey. This post definitely prodded me to finally get up to making them myself. Thank you for this post, great instruction.
Alex
I remember rolled beeswax candles from the Christmas craft extravaganza at the church my family attended when I was a kid. I vaguely remember that we were told those were decorative only, not for burning, but maybe whoever ran that craft was worried about people not rolling the sheets tightly enough. I like beeswax candles but usually buy soy wax for candles since it’s more affordable.
Funny! Maybe they were just saying that because kids were making the craft?
This type sounds and looks beautiful! Like you, the change in seasons prompts candle burning for mood enhancement and I wanted an option for the containers that I had burned through, so I bought some soy wax and cotton wicks and made my own last year — in mason jars and previous candle jars. I love the idea of using beeswax and when I finish this stock will look into those as an option, thank you!
In your supply list you’ve linked to the wick for candles 3″ in diameter and over. Here’s the correct link for candles under 3″:
http://www.brushymountainbeefarm.com/Roll-2_0-square-braid-wick/productinfo/895/
I’m going to order supplies this week and get these made for Christmas presents and for winter use in our home.
Thanks for such an extensive explanation on how to make your own (and for admitting you save the old beeswax – I’ve been collecting the drips and lumps for months now and I’ll finally get to use them)!
Thanks so much for spotting that! Got the right link up there for the 2/0 now! Happy candle making!
I’m so excited to make these for my brother in law who is a hard person to gift for Christmas. What is the manufacturer of the grosgrain ribbon you used (from your original candle making post)? I’m hoping to find something high quality online.
No idea what brand the ribbon was! If you’re looking for the best quality, I’d look for ribbon made from natural fibers instead of nylon: silk or cotton. Purl Soho has a beautiful cotton grosgrain if you’re looking: https://www.purlsoho.com/grosgrain-ribbon-5-8-inch.html
I’m not sure if you see comments on old posts, but I’m having trouble getting a strong flame in small poured beeswax candle (votive). I’m using 2/0 cotton wicking and tabs that I rethreaded, and I primed the wicks–not sure what the problem is! I make tealights like this often and have never noticed an issue! Could it be the beeswax I’m using? Any other advice?
I just tried my first batch of tea lights and definitely need to work on the end product. The beeswax tea lights cracked and the wick did not burn very long or have a very big flame. Advice?
Hmm. Not sure about the cracking—maybe they needed to cure longer before lighting? As for the flame, sounds like it could be the wick. Are you using cotton wicking? Could be a size issue?
A new comment on an old post! Just wanted to stop in and see if you had any suggestions for sourcing beeswax sheets nowadays (and would be v happy to use an affiliate link, too). I have found this tutorial so helpful over the years.
Oh man; will have to look into it! (The last batch we had I got from a neighbor in our Buy Nothing group!)
Comments are moderated.